
Hill: Beinn na Gainimh
Date: Friday 5th July 2013
Company: Just myself
Distance: 15.7km, Ascent: 730m
Time: 4Hrs 15Mins
On Friday morning I set out from home, destination the Sma’ Glen, for an ascent of one of my closest-to-home unclimbed Fionas – Beinn na Gainimh.
I parked just off the A822 beyond Newton Bridge where there is room for several cars.
Click here to see a map of the route undertaken
After a quick photo of the River Almond from Newton Bridge, I set off walking along the excellent Glen Almond track.
River Almond from Newton Bridge:
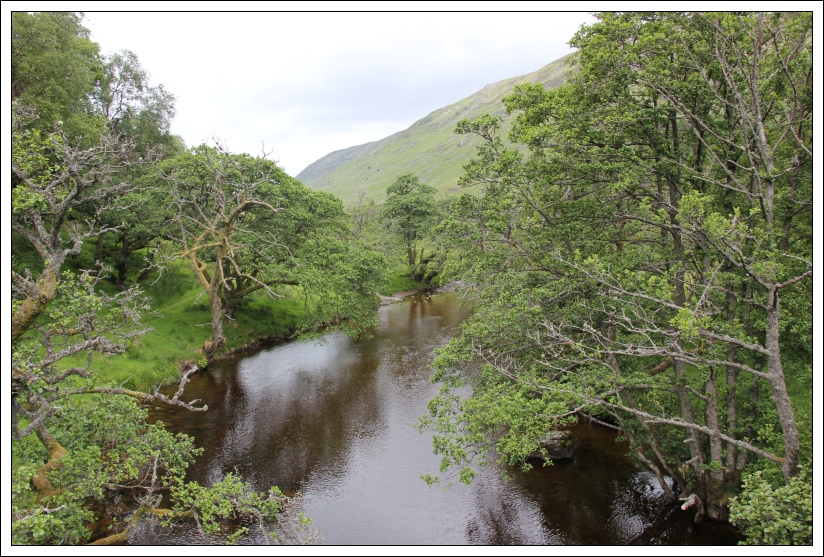
I took my time walking through the glen, enjoying the views, listening to the birds, looking out for flora and fauna and doing a fair bit of thinking. This was my first hillwalk since the incident in Drumochter where Beinn collapsed on the hill. As I walked through Glen Almond, I felt a strong mix of emotions.
River Almond:

On reaching the track junction, leading up towards Beinn na Gainimh, I was faced with high fencing with Health and Safety signage basically advising do not proceed beyond this point. I was in no doubt that H&S could GTF.
Looking up towards 655m top of Beinn na Gainimh:

I chose to ignore the signage continuing up the track towards Beinn na Gainimh.
Looking across to Auchnafree Hill:

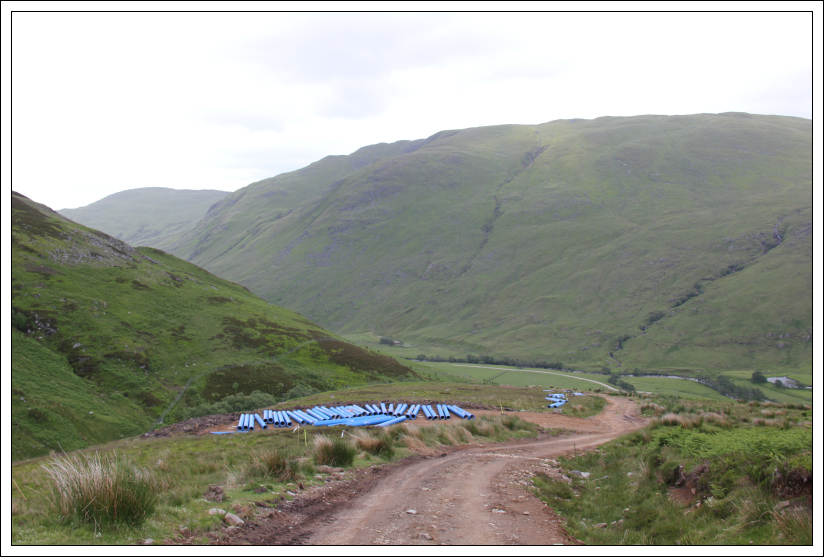
During the ascent, I passed numerous large blue pipes which would appear to be for a small hydro scheme being constructed at the Henzie Burn.
Pipes for Henzie Burn Hydro Scheme:
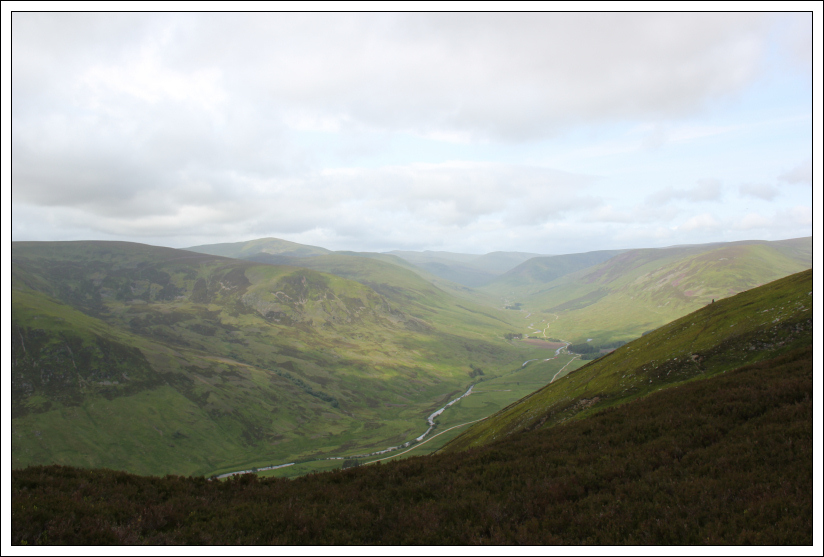
Looking back to Glen Almond:

A short distance from the track high-point, I took to the hillside. On looking up I was surprised to see three Red Kites circling high above - easily identified because of their distinctive forked tail.
Red Kite above 655m top:

Ben Chonzie and Glen Almond:
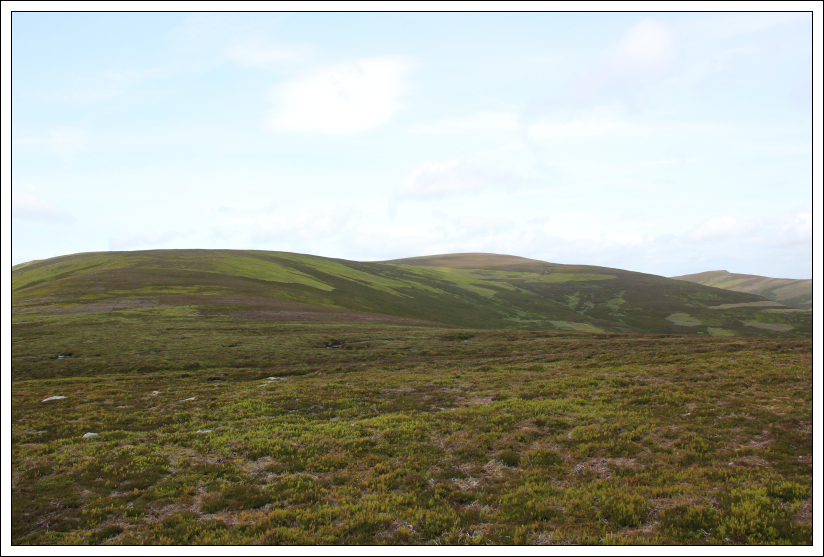
It didn’t take long to reach the 655m top from which I continued on towards Sron Bealaidh and Beinn na Gainimh.
Upright stone near 655m top:

Sron Bealaidh and Beinn na Gainimh:
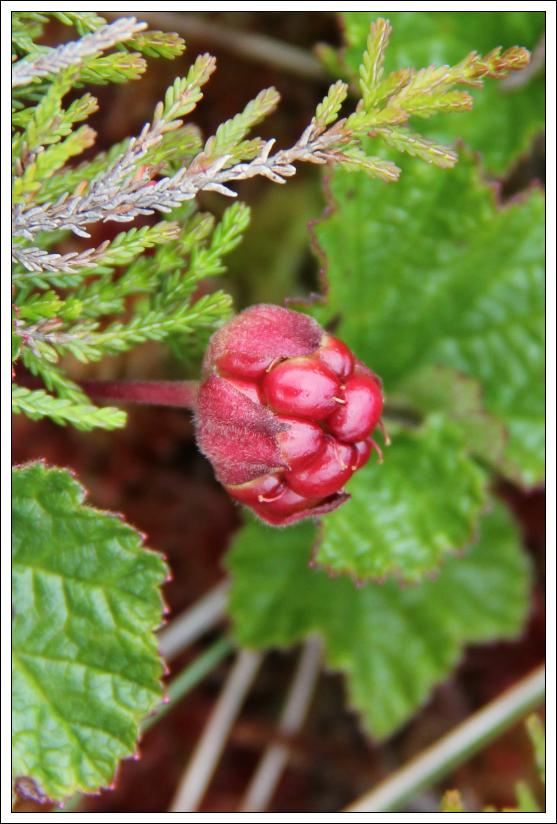
Between the 655m top and Sron Bealaidh there was lots of Cloudberry. There were also a good number of Mountain Hares.
Cloudberry:
Summit of Sron Bealaidh:

Beinn na Gainimh from Sron Bealaidh:
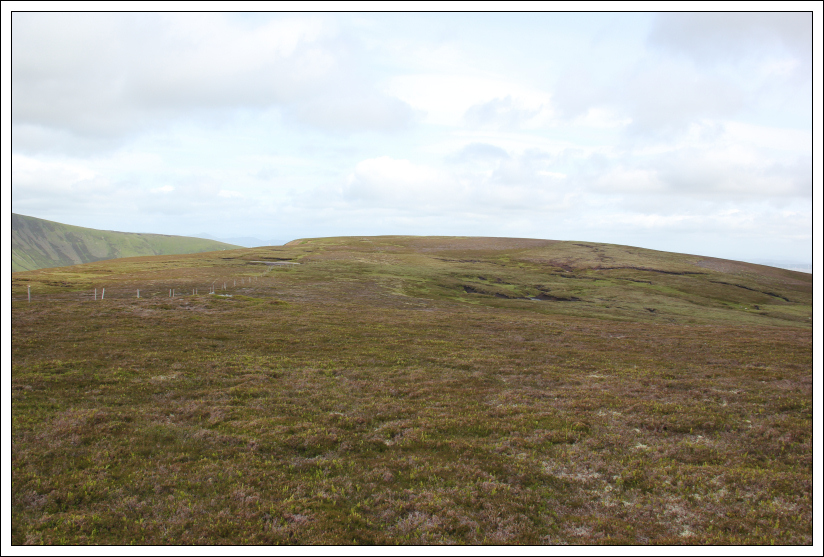
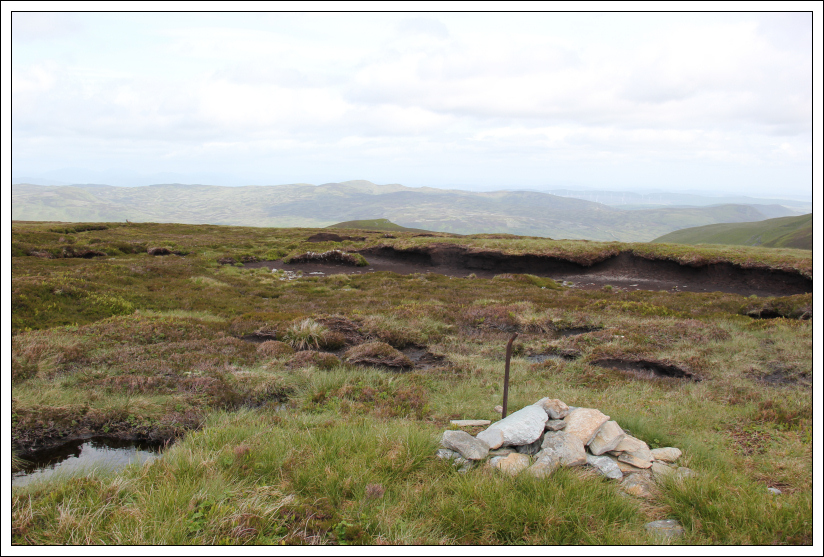
On reaching the summit, I visited the cairn and several other potential high points. While standing at the summit, I took photos of a couple of Mountain Hares and a Golden Plover.
At the summit of Beinn na Gainimh:
Mountain Hare near summit of Beinn na Gainimh:
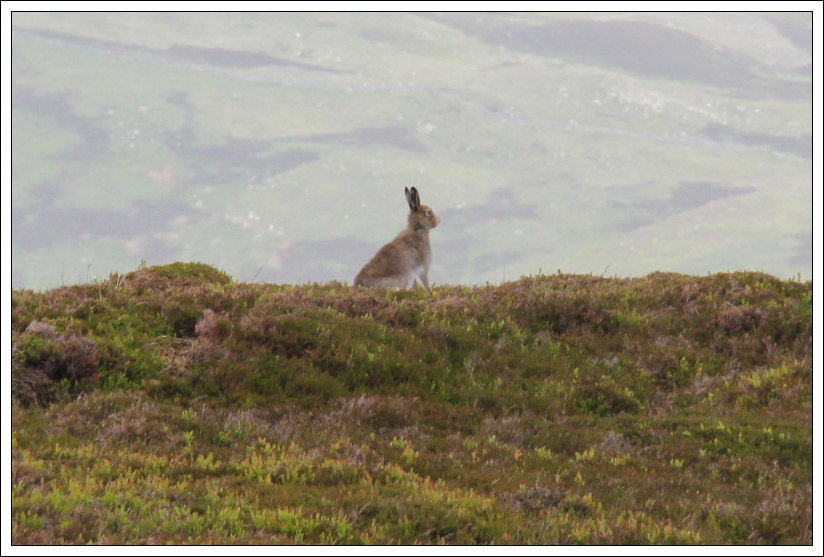
Mountain Hare near summit of Beinn na Gainimh:

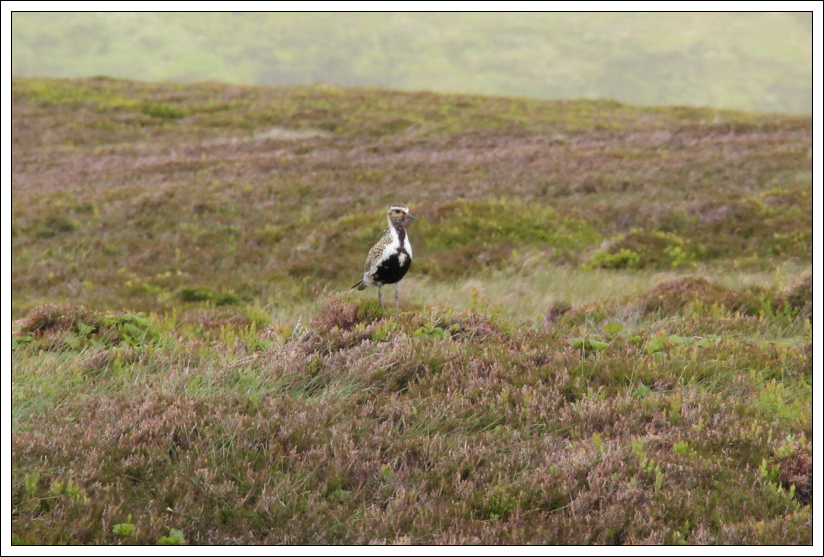
Golden Plover near summit of Beinn na Gainimh:
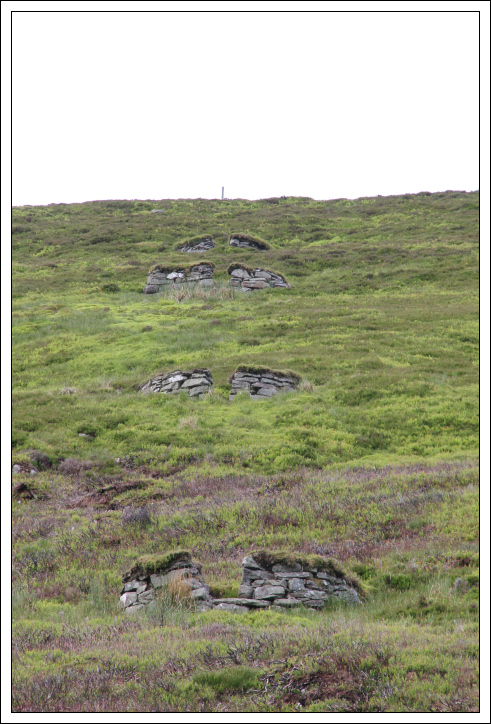
As I started to make my way back, I spotted a fairly large cairn on the hillside. Out of curiosity I went over for a look as a large cairn often signifies a good viewpoint. The large cairn marked the top of a line of ten grouse butts. I descended alongside the grouse butts to reach the start of the track alongside the Kenzie burn.
Looking back to the line of grouse butts:
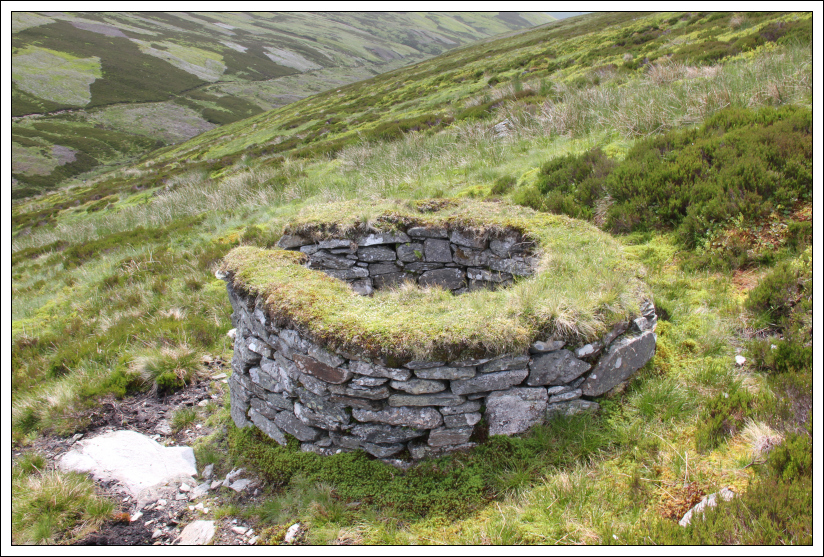
Grouse butt:
On reaching the Kenzie burn track, I followed the track out to the track junction where the Hydro scheme was being constructed.
Hydro scheme construction:

Beyond the Hydro scheme, I had to re-ascend almost 100m before getting back onto the track leading down to Glen Almond. The walk out along Glen Almond was also pleasant. During the walk back along Glen Almond, I decided that I would head next for Loch Tay for an ascent of Drummond Hill.
I programmed the starting point for Drummond Hill into my SatNav and let it lead the way. The SatNav took me along a minor road from Amulree to Kenmore – a really “interesting” road
Hill: Drummond Hill
Date: Friday 5th July 2013
Company: Just myself
Distance: 11km, Ascent: 430m
Time: 2Hrs 40Mins
On reaching Loch Tay, I parked in the large car park for Drummond Hill.
Click here to see a map of the route undertaken
Drummond Hill sign:

The ascent of Drummond Hill started off fairly pleasant apart from a handful of flies which were flying about my head.
Following the good track towards the viewpoint:

Drummond Hill is completely covered in trees, so there are no views whatsoever except of the surrounding trees.
Foxglove:

The only exception to no views was from the Black Rock viewpoint which provided a nice view looking down to Kenmore and the end of Loch Tay.
View from Black Rock viewpoint:

On reaching the upper track, I checked Viewranger on my phone to confirm that I was where I was expecting to be. Viewranger claimed that I was off-route!!!
I therefore started back-tracking to find the “correct” route. After back-tracking a few hundred metres, Viewranger lost satellite reception altogether - I was apparently now standing in the middle of Loch Tay. It turns out that I was originally on the correct route and that Viewranger was wrong owing to poor satellite reception. I should have trusted my paper map navigation.
Heading along the upper forest track:

On reaching about half-way between the two tops of the hill, I left the track and headed uphill through the trees to reach the start of a dry-stane dyke. I then followed the dyke along to the summit.
Following the dyke to the summit cairn:
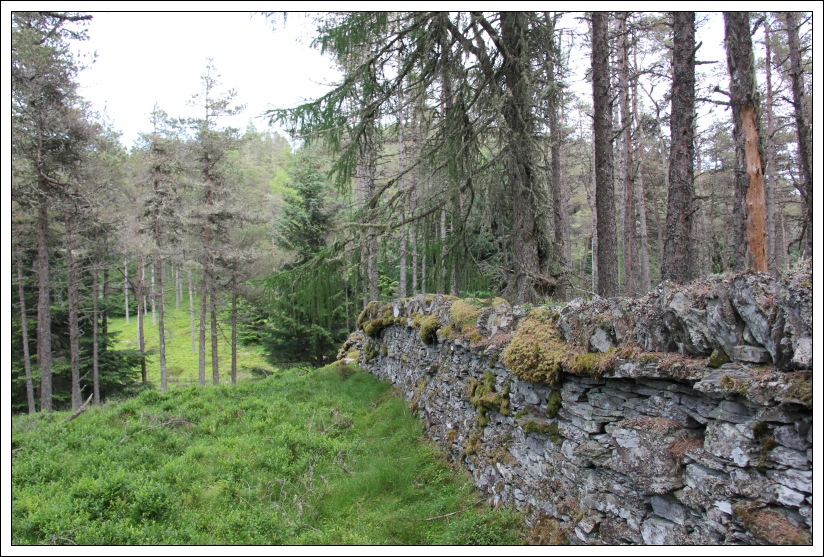
The walk alongside the dyke was really unpleasant. I was literally confronted with hundreds of flies swarming around my head. Midge net was essential.
Looking back along the dyke:

It was nice to reach the summit and then get back down away from all the flies as quickly as possible.
Summit of Drummond Hill:

I would not recommend doing this hill on a hot summer day.