
Date: Saturday 26th June 2021
Company: Myself and Ann-Marie
Distance: 24.5km, Ascent: 1900m
Time: 9Hrs 45Mins
Having walked the north shore of Loch Mullardoch three times previously, and on each occasion vowing to never do so again, I finally heeded my own advice and booked the Mullardoch ferry. Walking the path along the north shore of Loch Mullardoch can only be described as a punishment akin to being stripped naked, tied to a tree and left to the midge.
Due to Covid restrictions, the ferry can currently take a maximum of six passengers. The trip along the loch takes less than fifteen minutes and currently costs a whopping £40 per person but it is worth every penny.
Click here to see a map of the route undertaken
On Saturday morning, we walked from the Mullardoch Dam car park circa 500 metres along the north shore to catch the ferry.
Mullardoch ferry arrival:
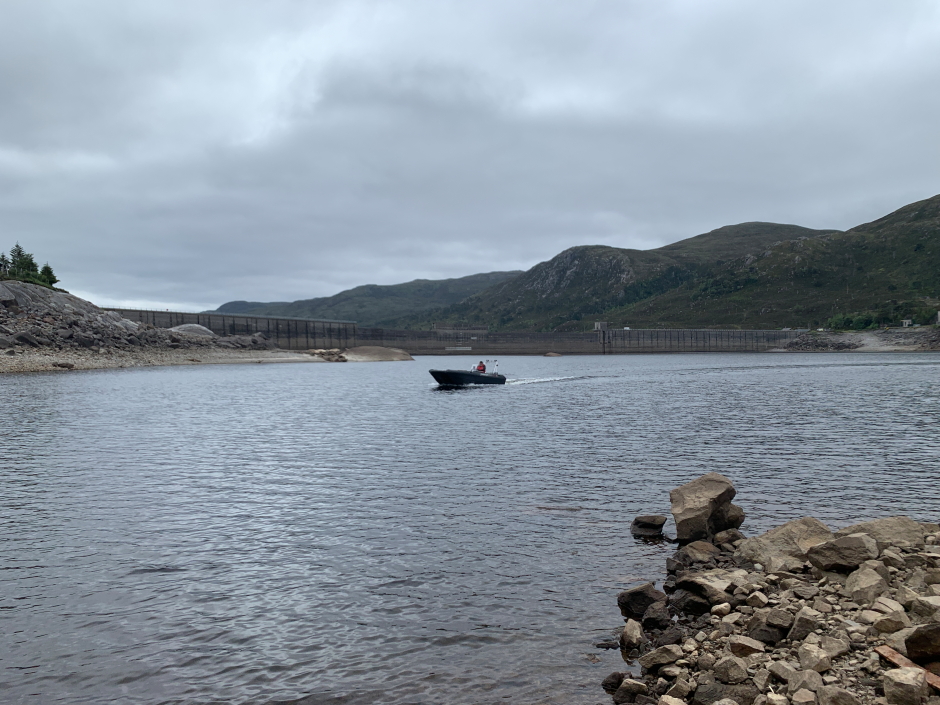
I always enjoy a boat ride and this one was no different. We were soon on our way travelling the loch at speed.
Aboard the Mullardoch ferry:
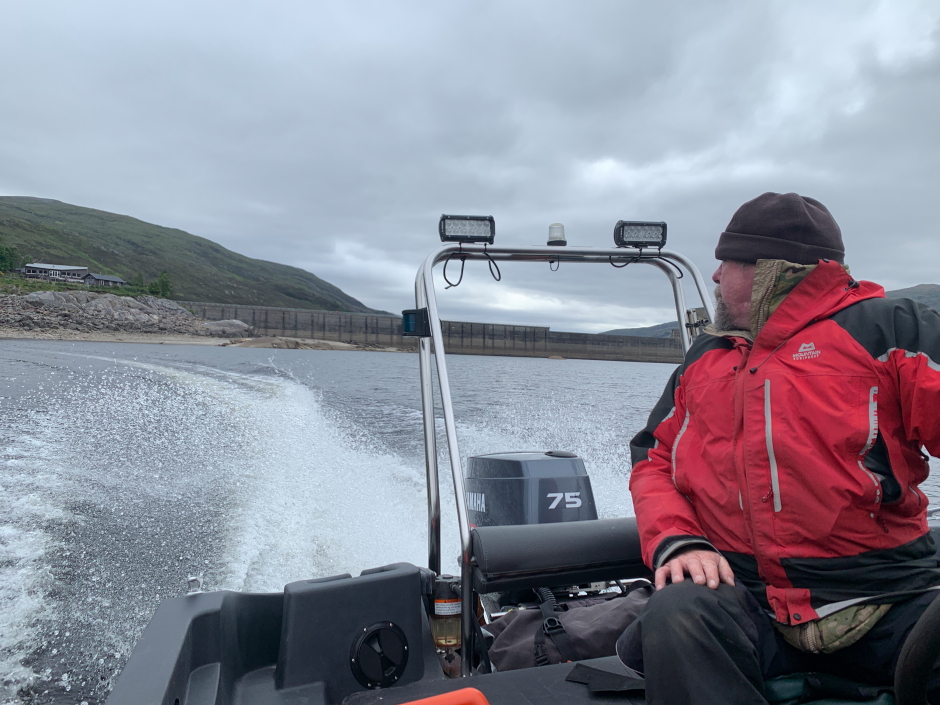
We were dropped-off at Glen Cannich from where we commenced our walk back to the van via the Mullardoch Munros and Tops.
In order to set a good pace I decided to attempt to catch-up with the walkers from the boat thirty minutes previous. Respect to this group in that I failed to do so. Even greater respect to the lady who overtook us walking the hills barefoot
We initially followed the track alongside the Allt Coire a' Mhaim before negotiating a number of mostly dry peat hags in Coire Mhaim.
Looking back along the Allt Coire a' Mhaim:
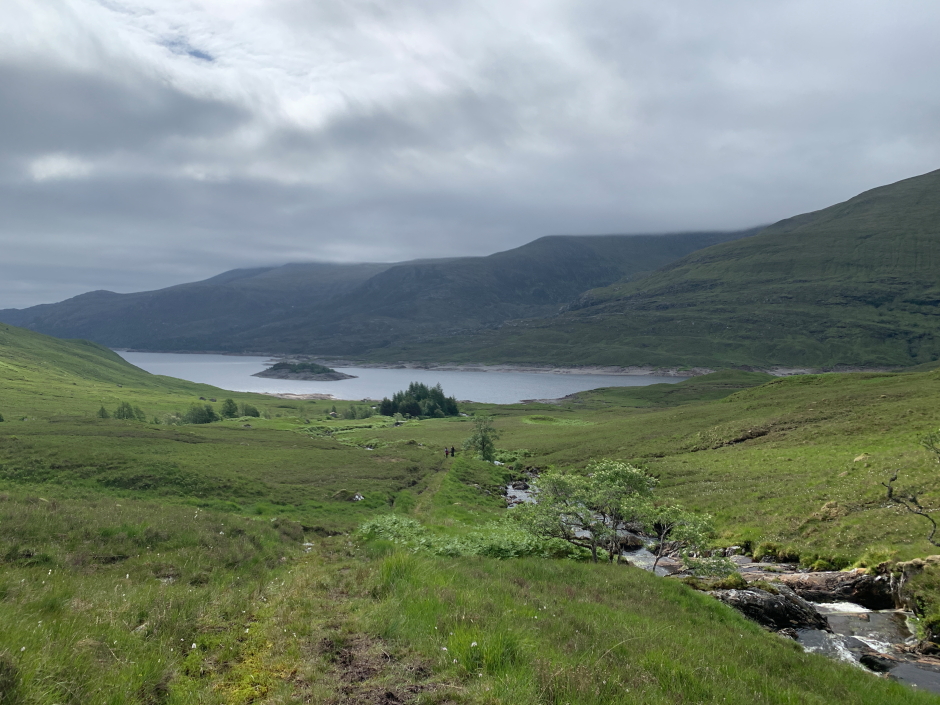
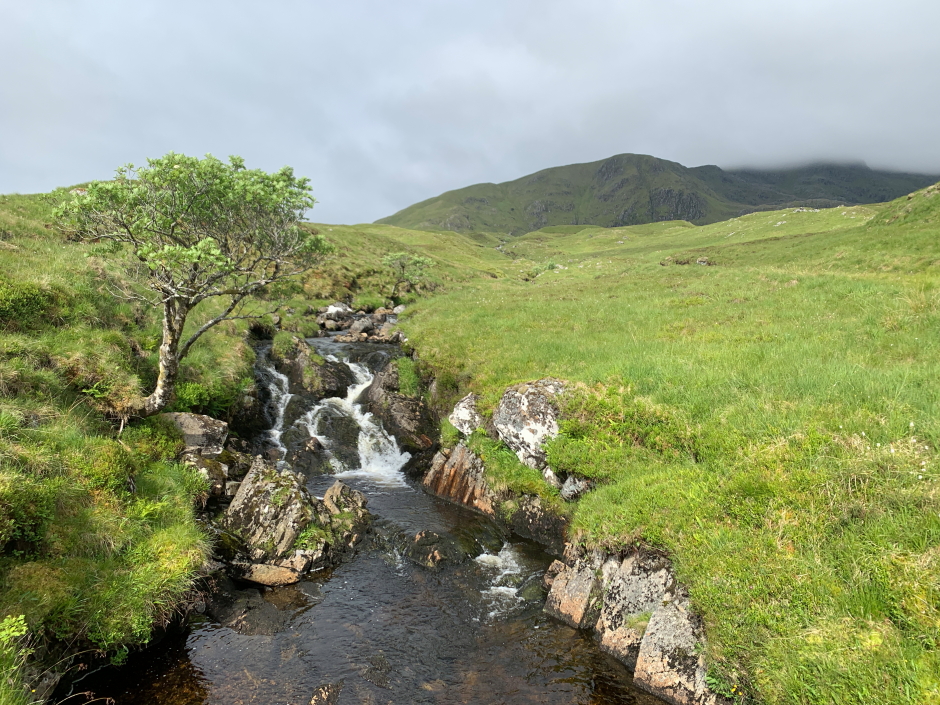
Photo from bridge over the Allt Coire a' Mhaim:
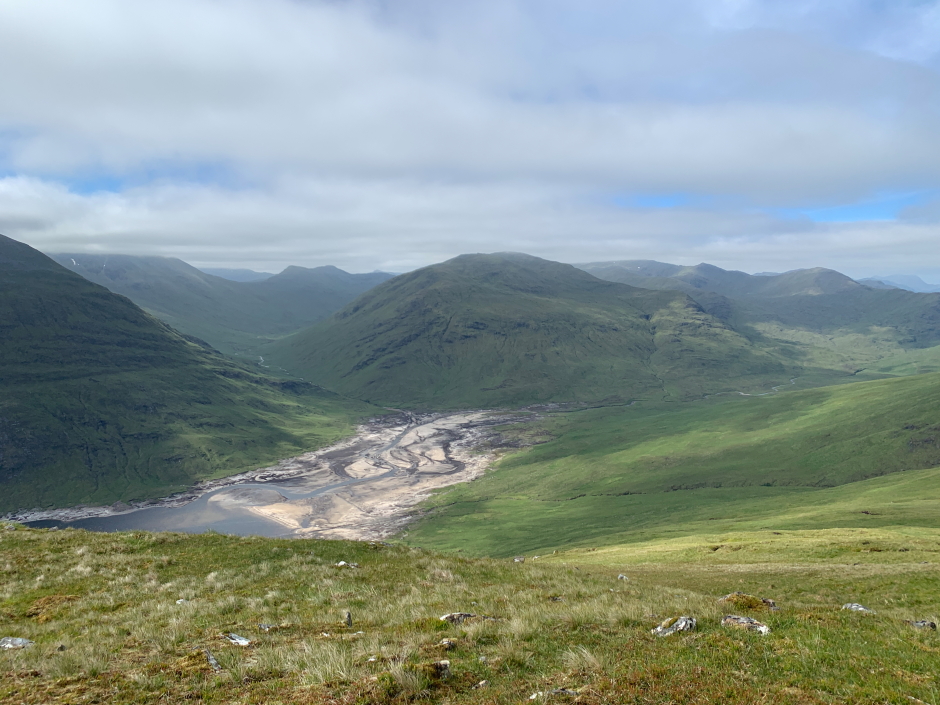
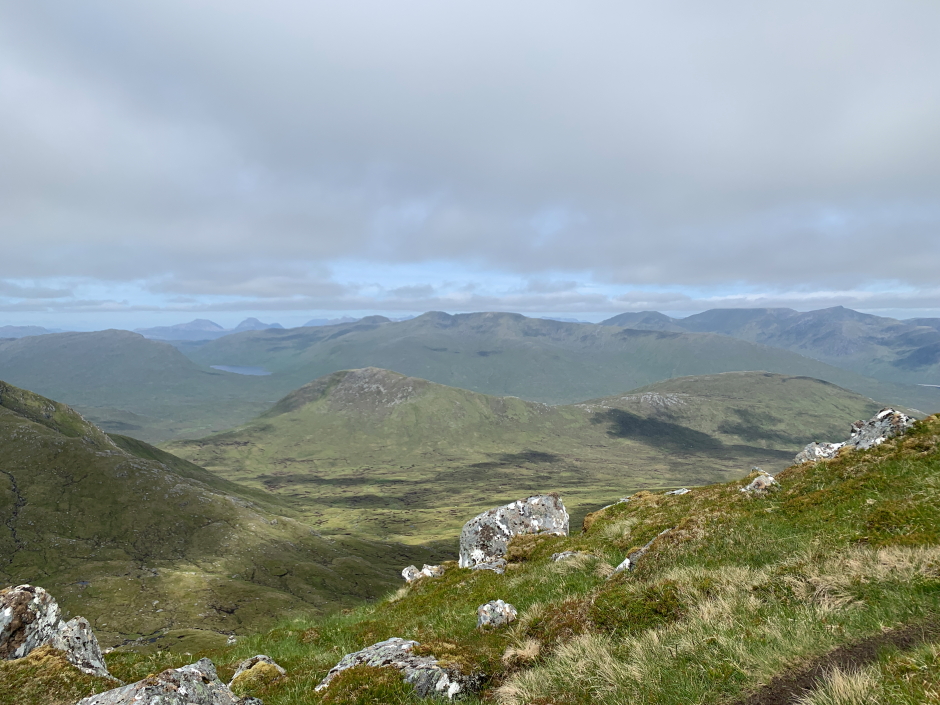
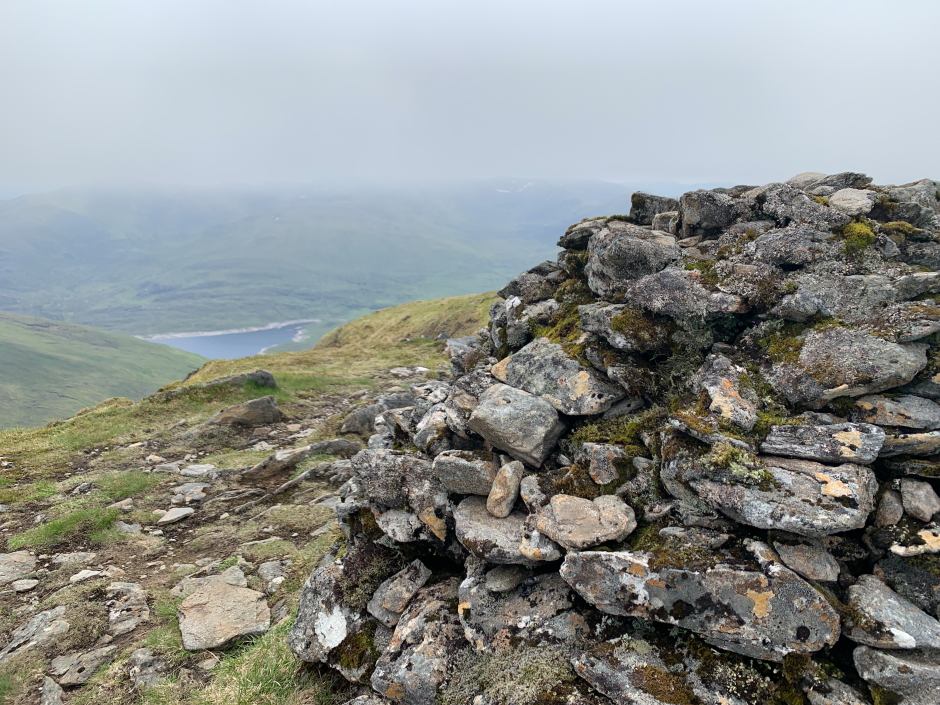
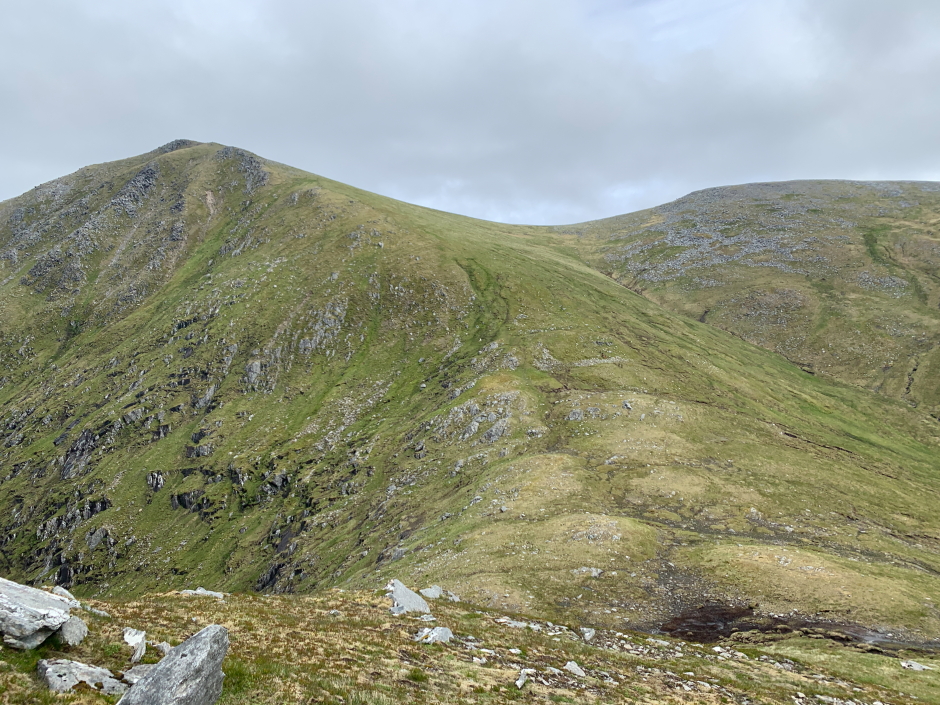
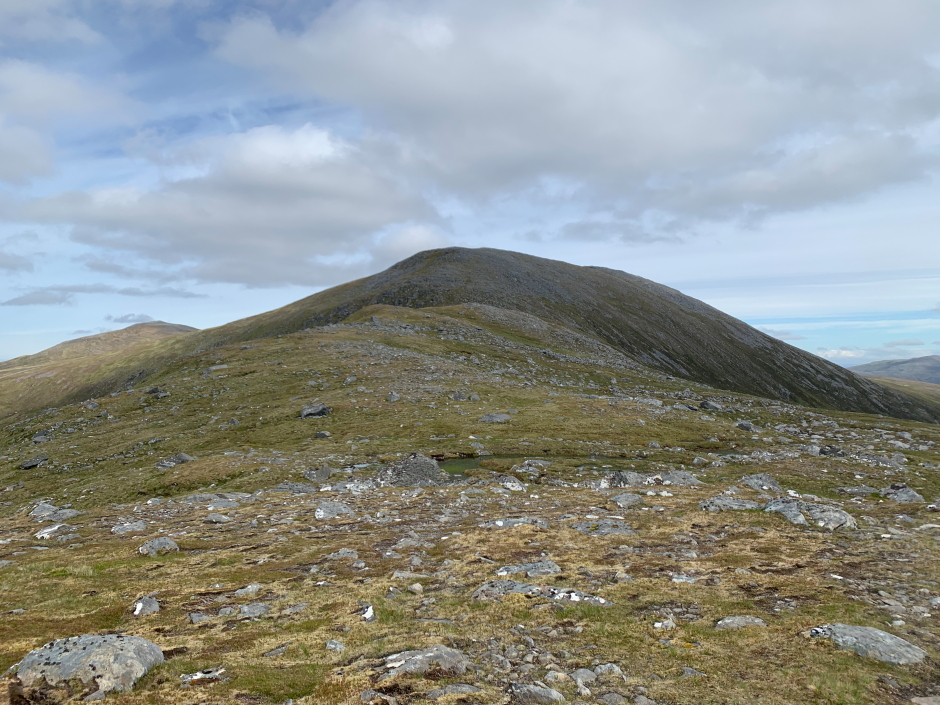
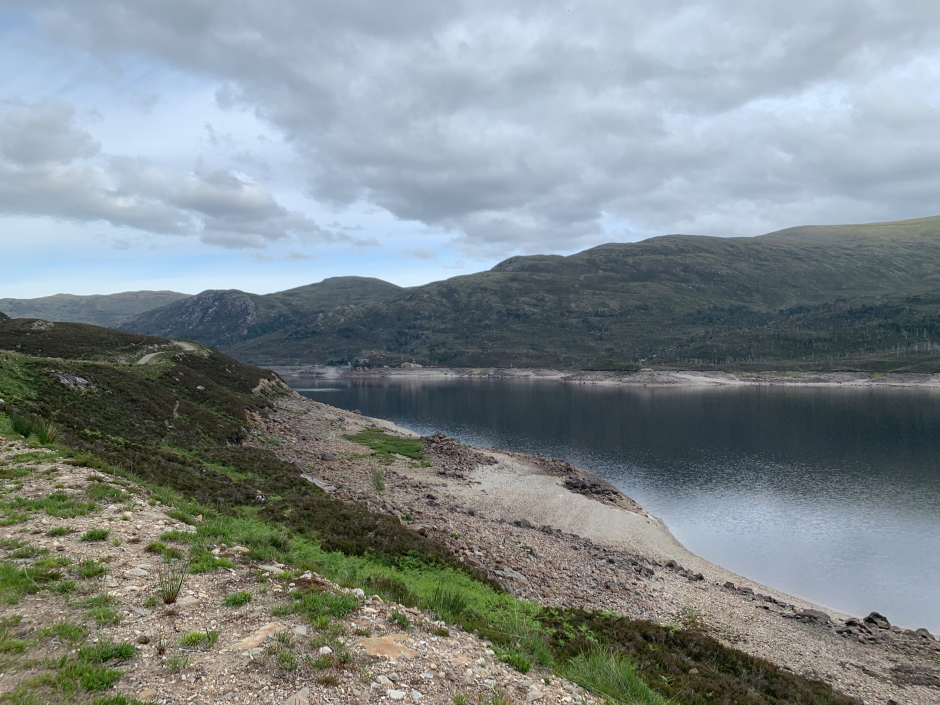
We then ascended An Socach via its south-east ridge. The ascent of An Socach was straight-forward via steep grassy slopes. During the ascent we got increasingly good views back down to Loch Mullardoch. The Loch Mullardoch water level is currently very low.
Low water level at the west end of Loch Mullardoch:
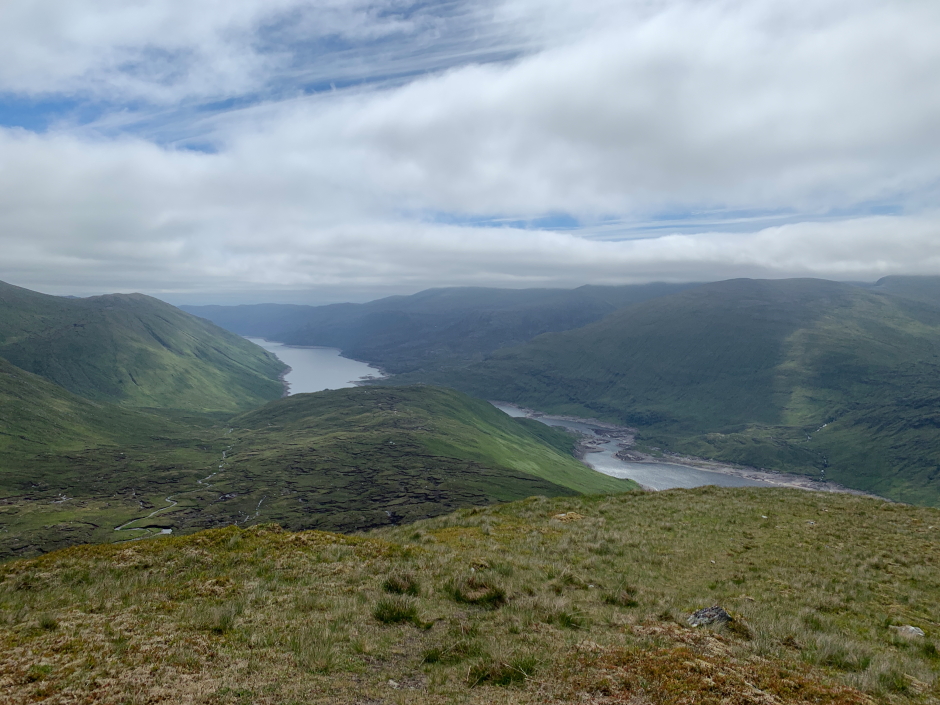
Looking back towards Loch Mullardoch:
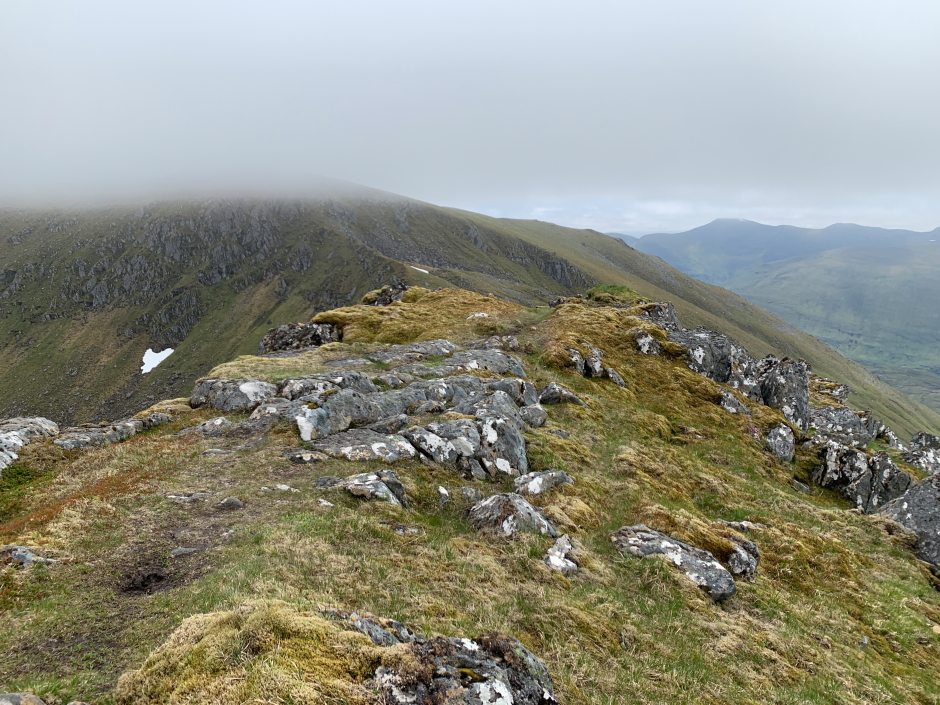
On reaching a height of c.800m we unfortunately entered low cloud. We had our fingers crossed that the cloud would lift as the day went on. On the plus side, it was already very warm and walking in cloud was somewhat cooler.
After taking a photograph at the summit of An Socach we made our way along the ridge to next reach An Socach's East Top. I last ascended An Socach in April 2003.
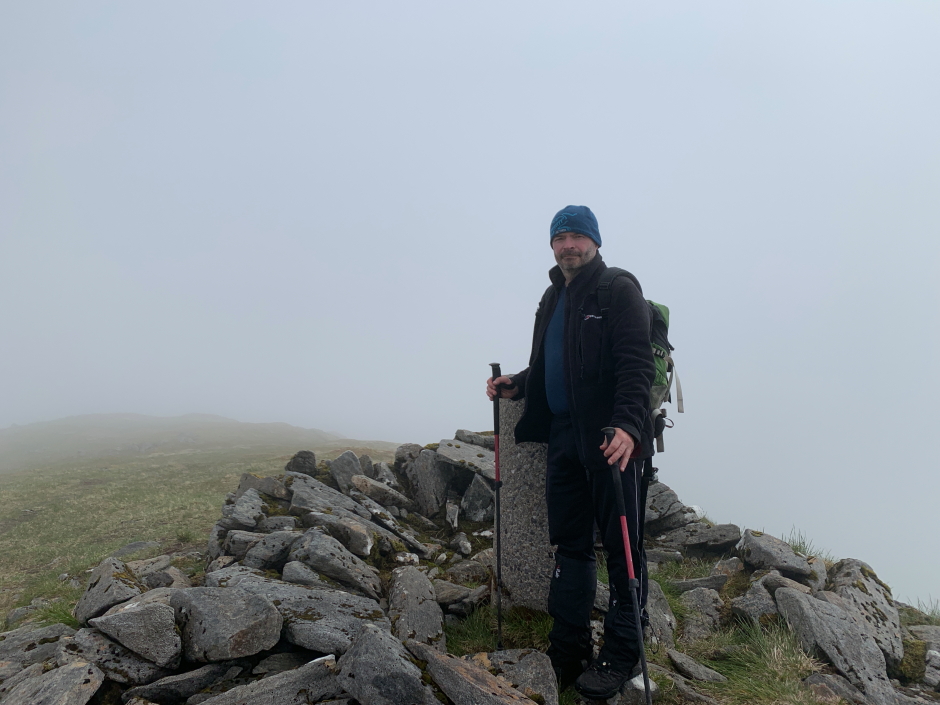
Myself at the summit of An Socach:
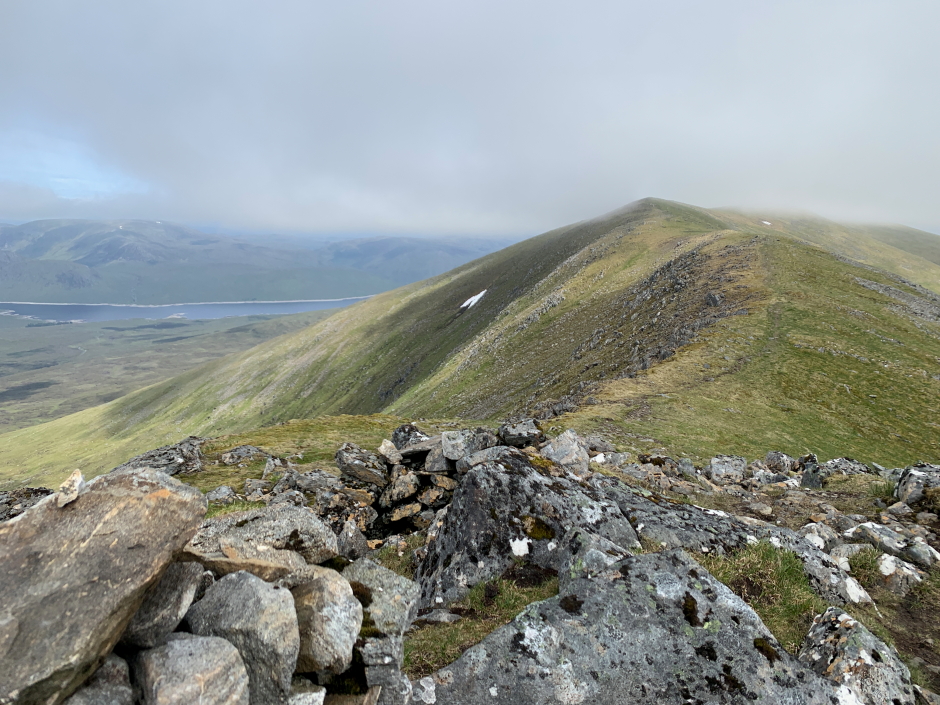
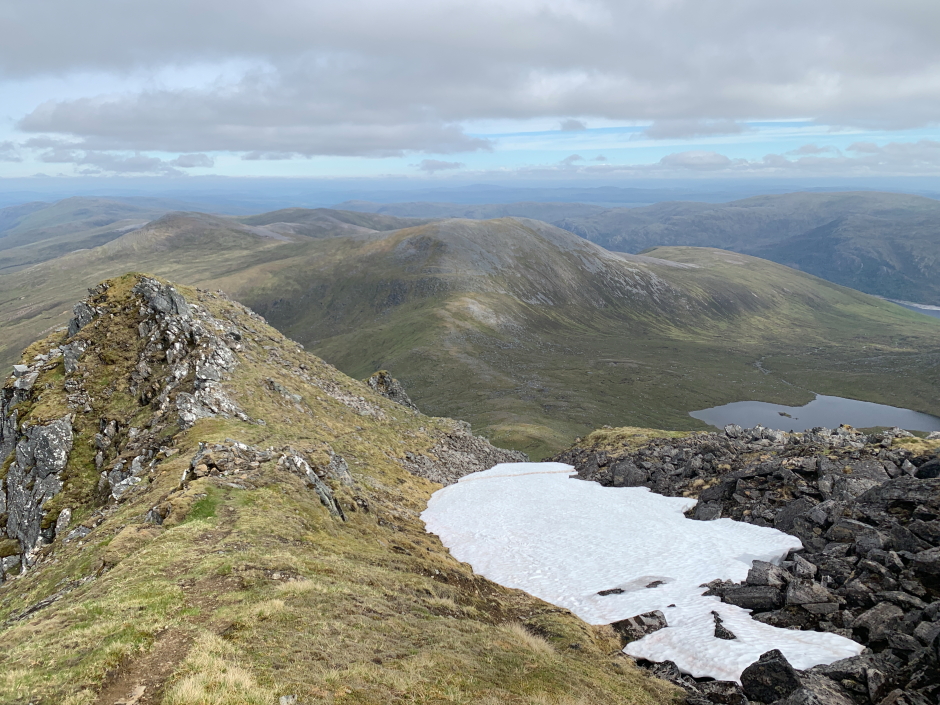
Beyond An Socach's East Top lay the first of several big drops that we would have to negotiate during this walk. The descent to the col between An Socach's East Top and An Riabhachan's West Top was fairly easy albeit quite steep.
Looking down to the col between An Socach East Top and An Riabhachan West Top:
It didn't take long to reach the col and we were soon making our way up the first of An Riabhachan's tops.
During the ascent we stopped to take in the wonderful view to the north. Immediately next to us was the remote Fiona, An Cruachan. Also nearby was Beinn Dronaig, Bidean a' Choire Sheasgaich and Lurg Mhor. Beyond, the Achnshellach hills were prominent especially An-ruadh Stac and Maol-chean Dearg. Finally, Liathach and Beinn Eighe formed a lovely backdrop.
Great views looking north towards the Achnashellach and Torridon hills:
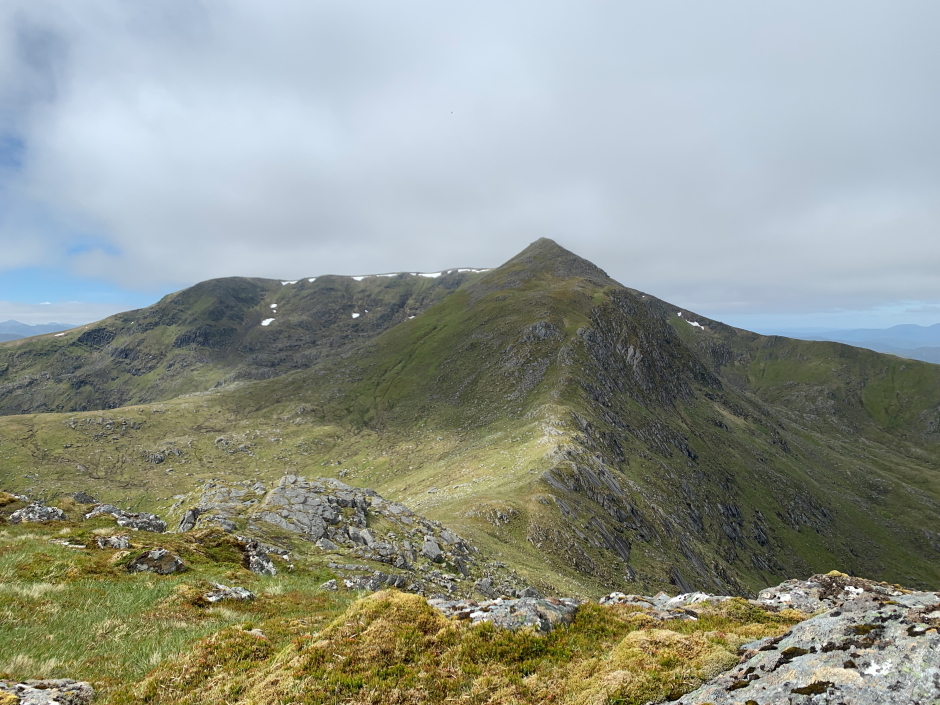
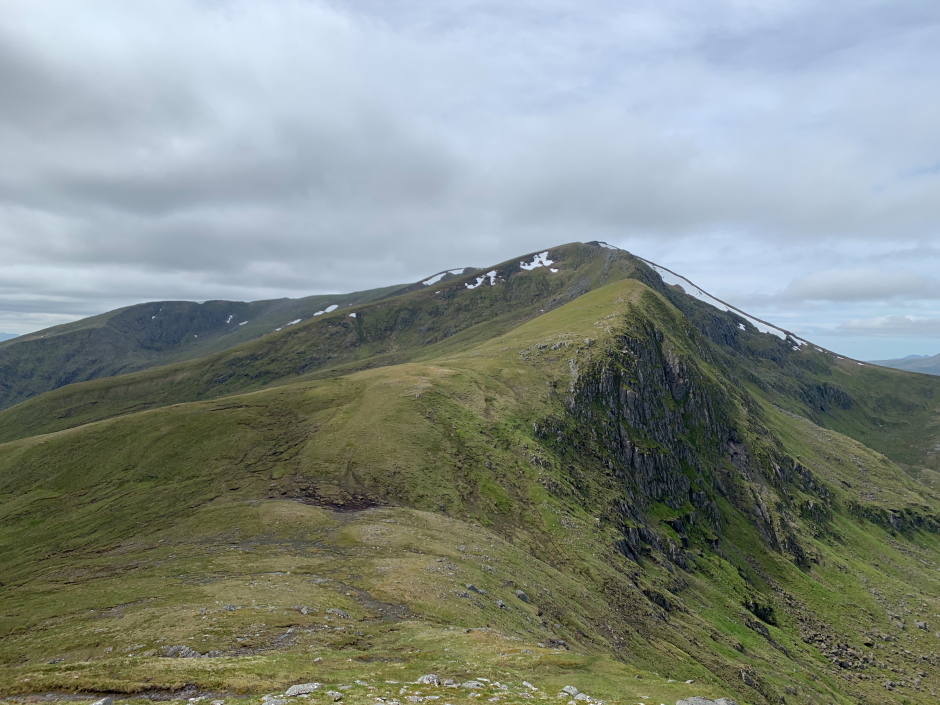
The view back towards An Socach was pretty-good as the cloud had now lifted above its summit. The higher summit of An Riabhachan ahead was however still capped in cloud.
Looking back to An Socach during ascent of An Riabhachan's West Top:
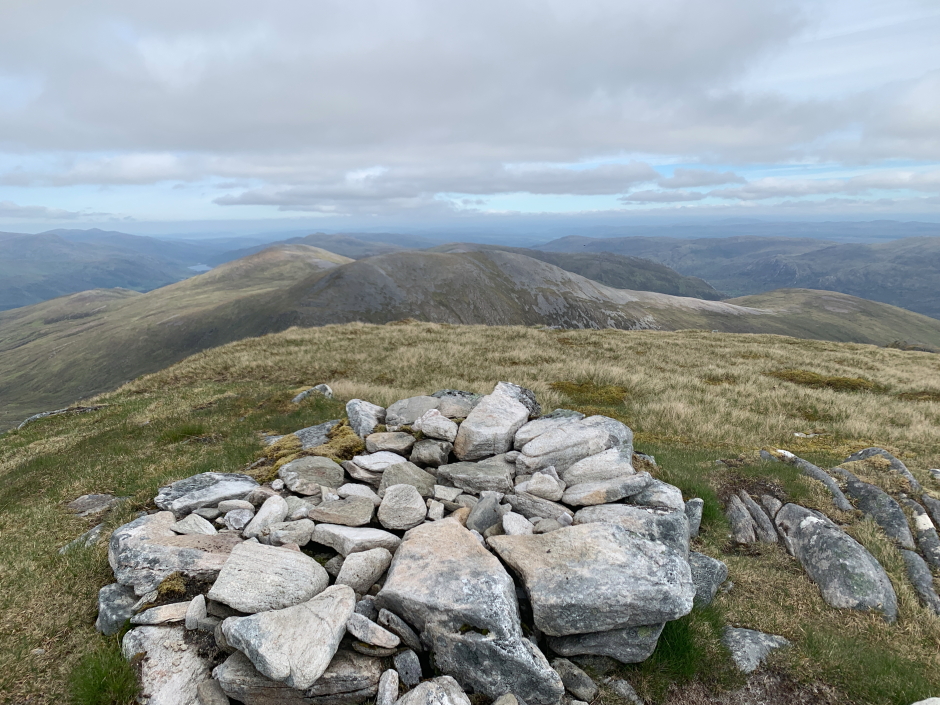
Our second summit of the day was An Riabhachan's West Top. This is a Munro Top.
At the summit of An Riabhachan's West Top:
From An Riabhachan's West Top we continued along the ridge to next reach An Riabhachan's South-West Top. The South-West Top is also a Munro Top.
Looking towards An Riabhachan's South-West Top:

Looking back along the ridge between An Riabhachan's West Top and South-West Top:
At the summit of An Riabhachan's South-West Top:
The next section of ridge leading to the summit of An Riabhachan was possibly the easiest and most pleasant section of the ridge.
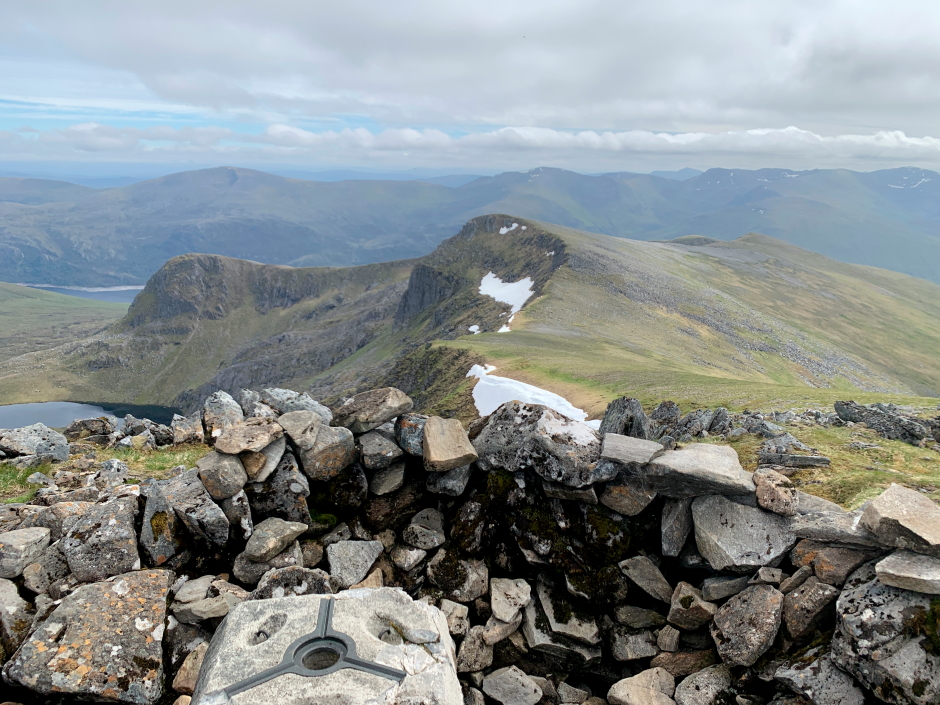
At the summit of An Riabhachan:
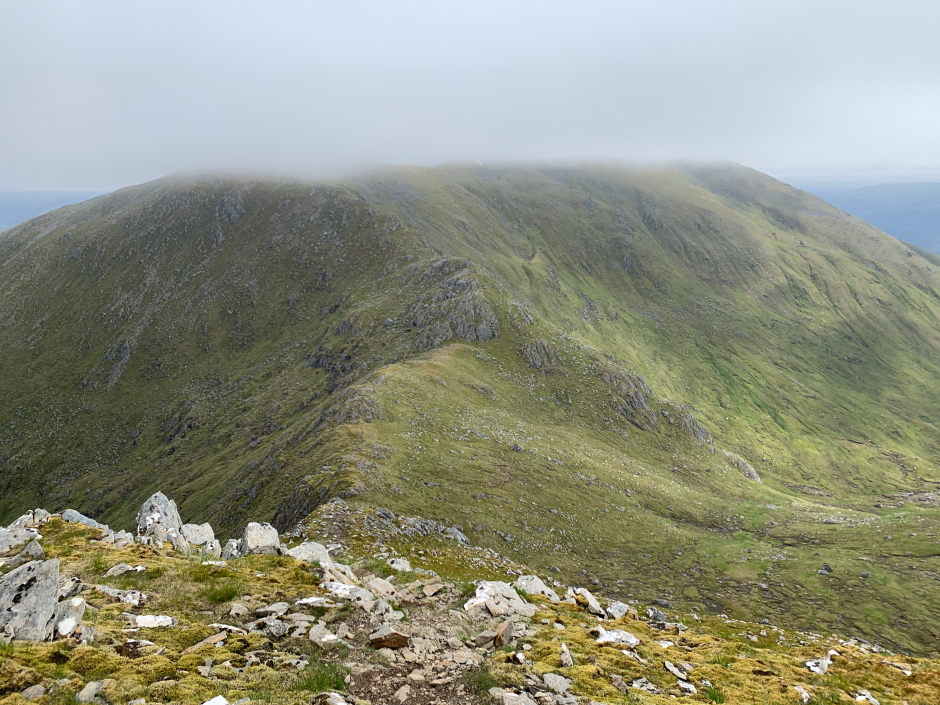
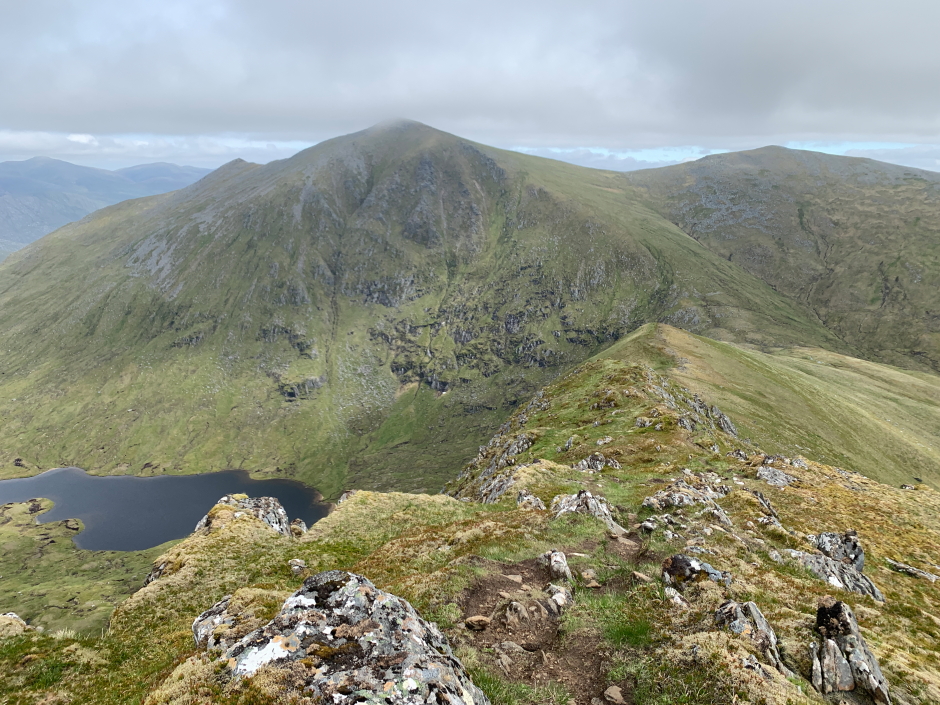
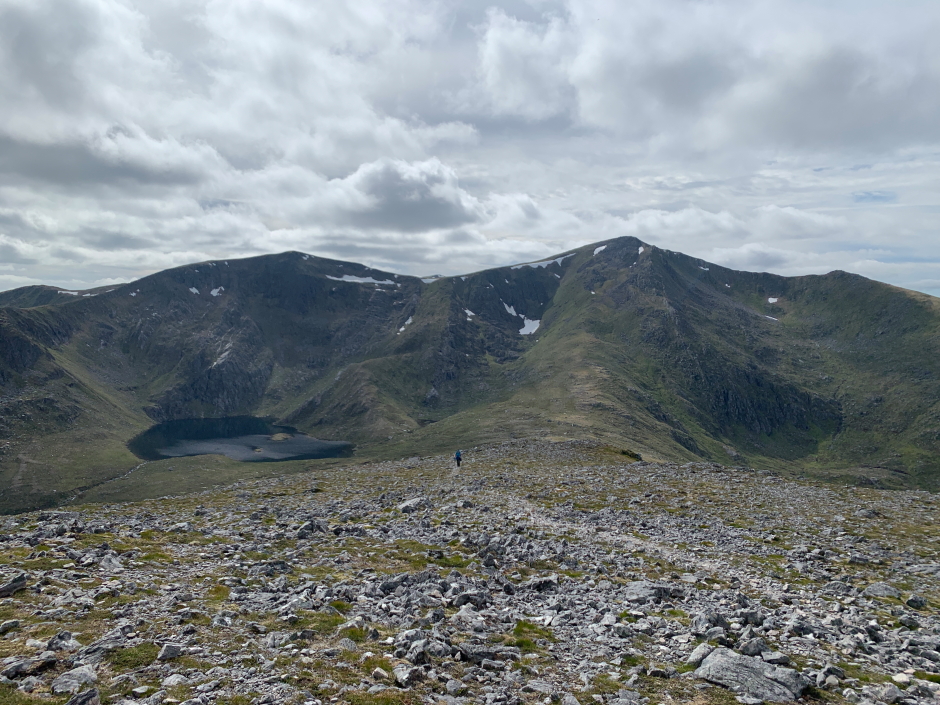
The drop from An Riabhachan was again substantial and fairly steep.
Descent from An Riabhachan towards Sgurr na Lapaich:
As the cloud had now lifted above all of the summits we were treated to great views throughout the remainder of the walk. It was however now very warm and we were already running out of water. I had set off carrying two litres but was also carrying my UV Steripen to allow me to sterilise water from a burn.
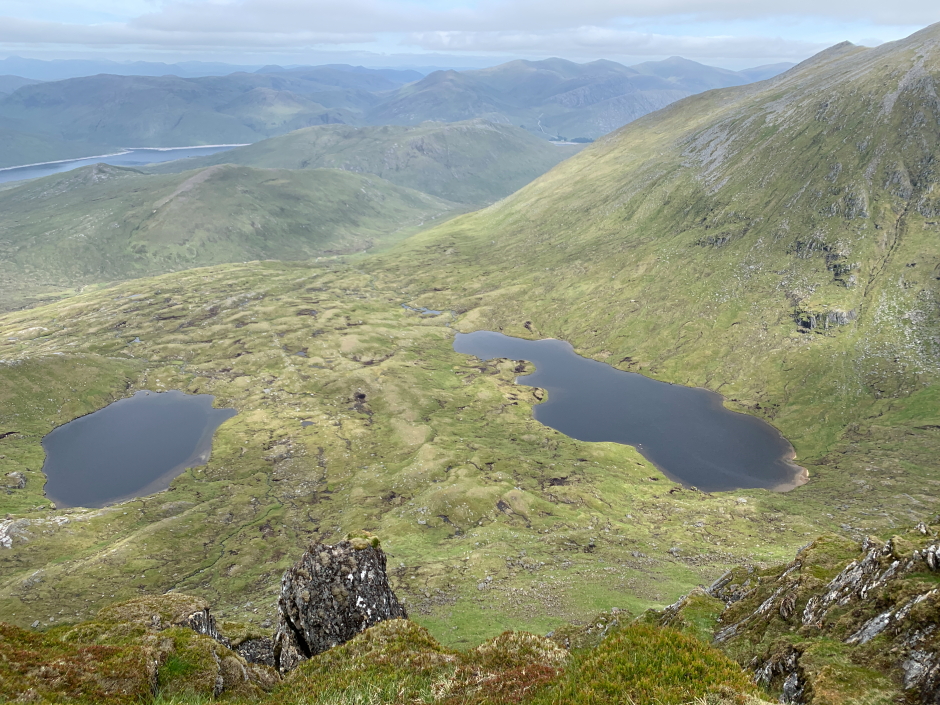
Loch Beag and Loch Mor:
As I wanted to ascend Sgurr nan Clachan Geala, another Munro Top, we had to deviate slightly from the standard traverse. On reaching the col we followed the path up Sgurr na Lapaich in its lower section before going trackless to arrive at the col between Sgurr na Lapaich and Sgurr nan Clachan Geala.
During the initial ascent we had our longest stop of the day as we refilled our water bottles at a small burn and then sterilised the water using my Steripen.
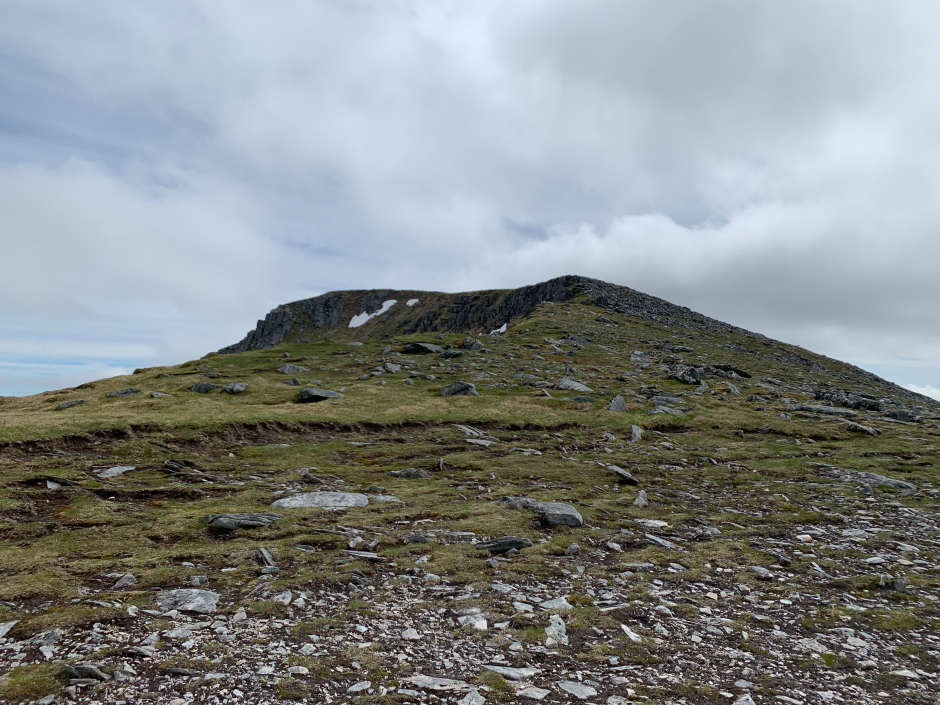
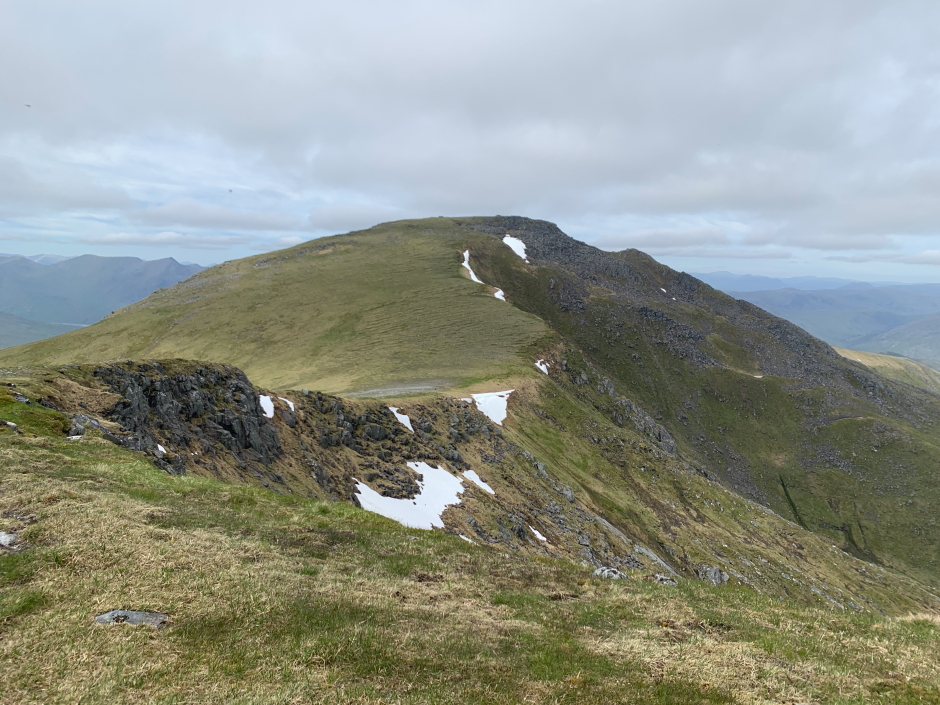
Sgurr na Lapaich and Sgurr nan Clachan Geala:
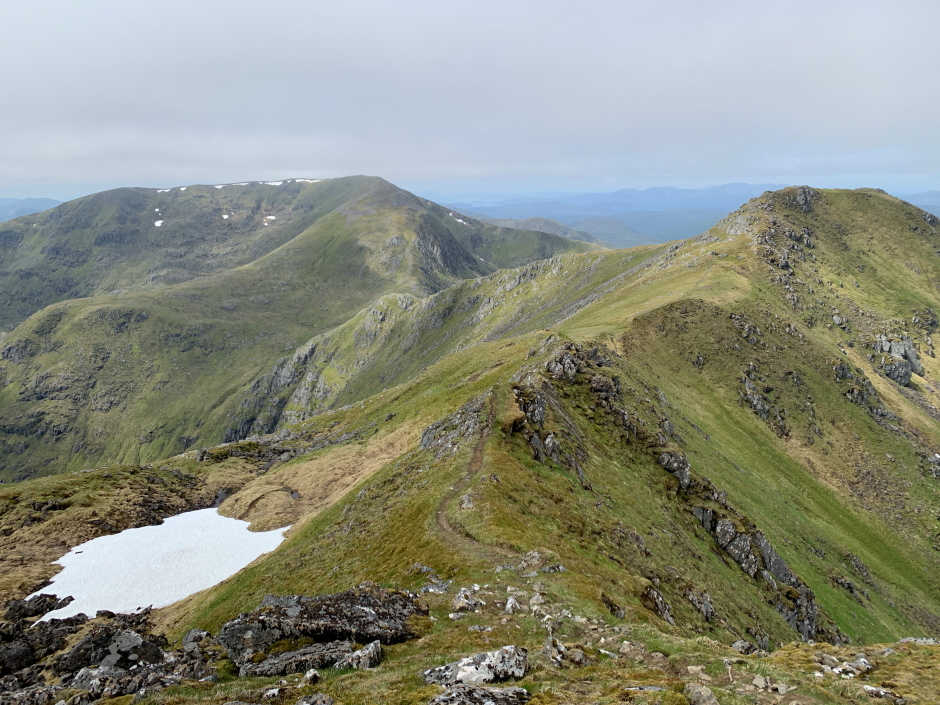
Looking back towards An Riabhachan:
As we now had an out and back section, we left our rucksacks at the col for our ascent of Sgurr nan Clachan Geala.
At the col between Sgurr na Lapaich and Sgurr nan Clachan Geala:
Sgurr nan Clachan Geala was definitely worth doing as it provided great views.
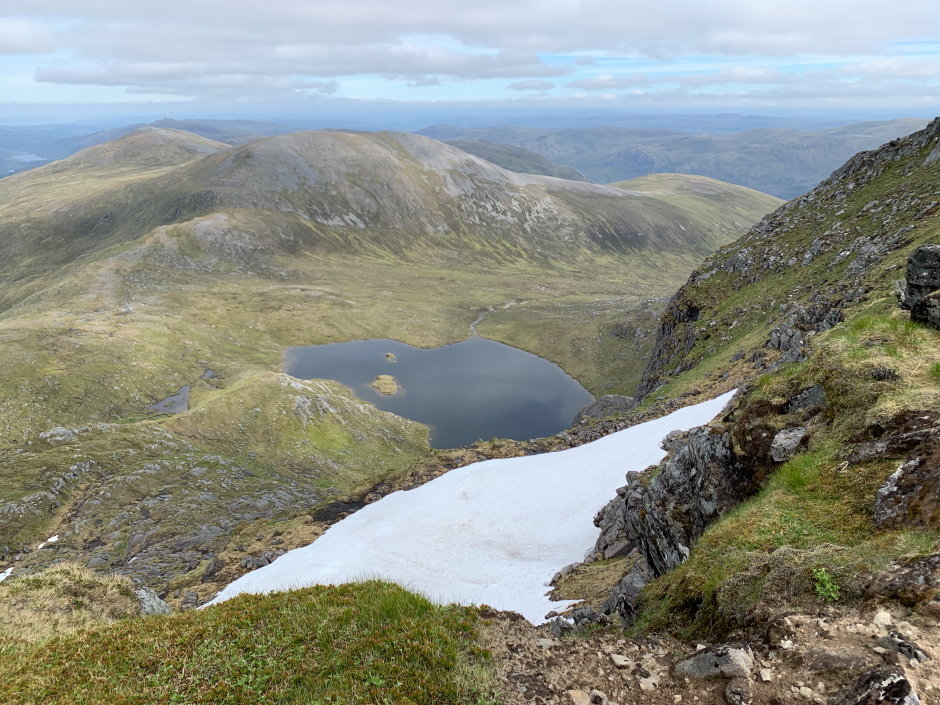
Looking down to Loch Tuill Bhearnach:
At the summit of Sgurr nan Clachan Geala:
Sgurr na Lapaich from Sgurr nan Clachan Geala:
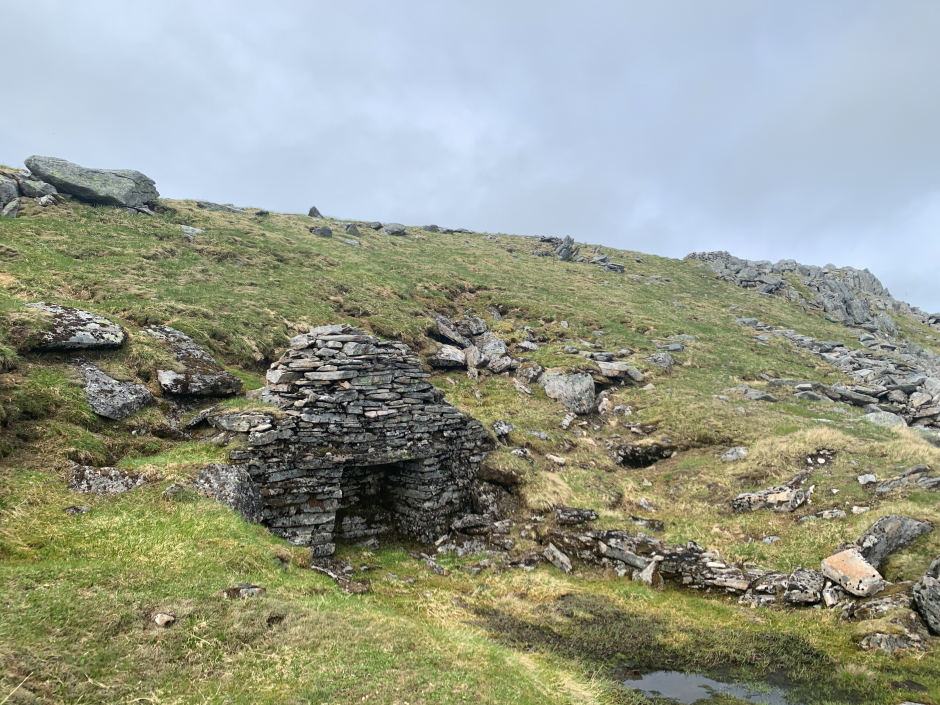
On returning the col we collected our rucksacks and progressed towards the third Munro summit of the day, Sgurr na Lapaich. En-route to the summit we passed the remains of an old building.
Remains of a house/shelter just below summit of Sgurr na Lapaich:
On returning to the main ridge the views to the north just kept getting better and better.
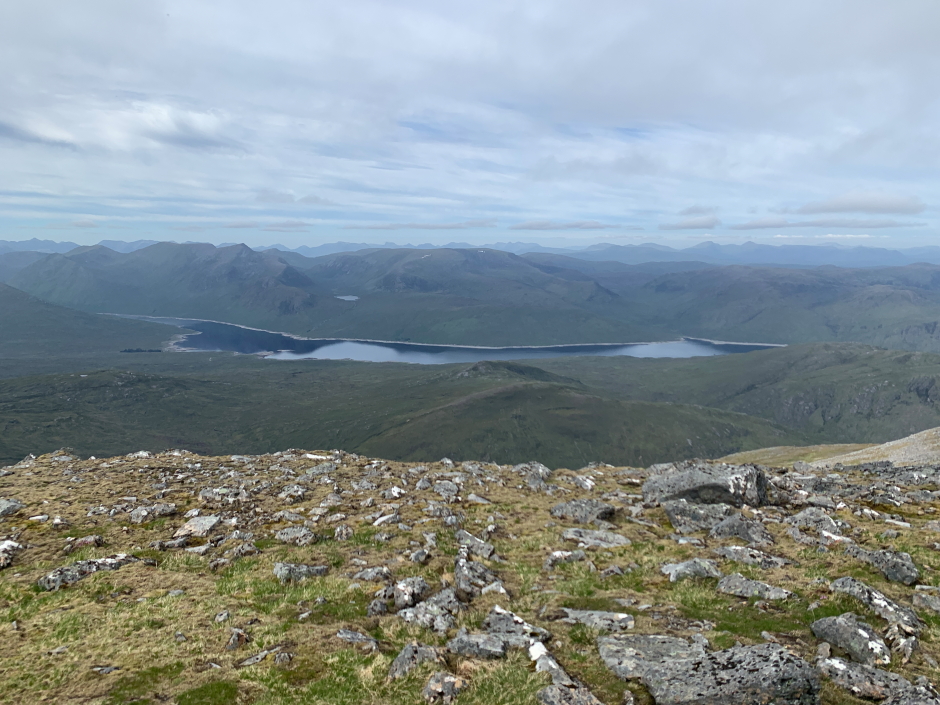
Loch Monar:
The view from the summit of Sgurr na Lapaich was arguably the best summit view of the day.
At the summit of Sgurr na Lapaich:
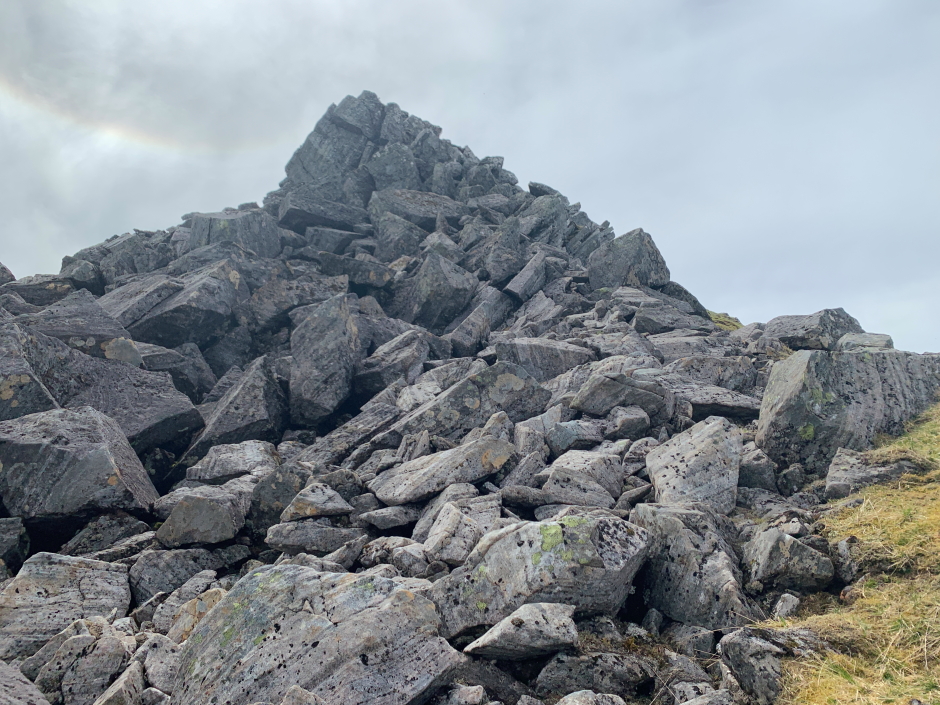
The descent from Sgurr na Lapaich was by far the trickiest section of the day. I am not sure if I lost the path or didn't follow the best line but we ended up scrambling across numerous large boulders as seen in the next photograph. It provided a little excitement and we were soon back onto an obvious path.
Looking back at initial rocky descent from Sgurr na Lapaich:
Beyond the initial rocky section, the remainder of the descent was still steep and the drop big.
Descent from Sgurr na Lapaich:
Looking back to Sgurr na Lapaich:
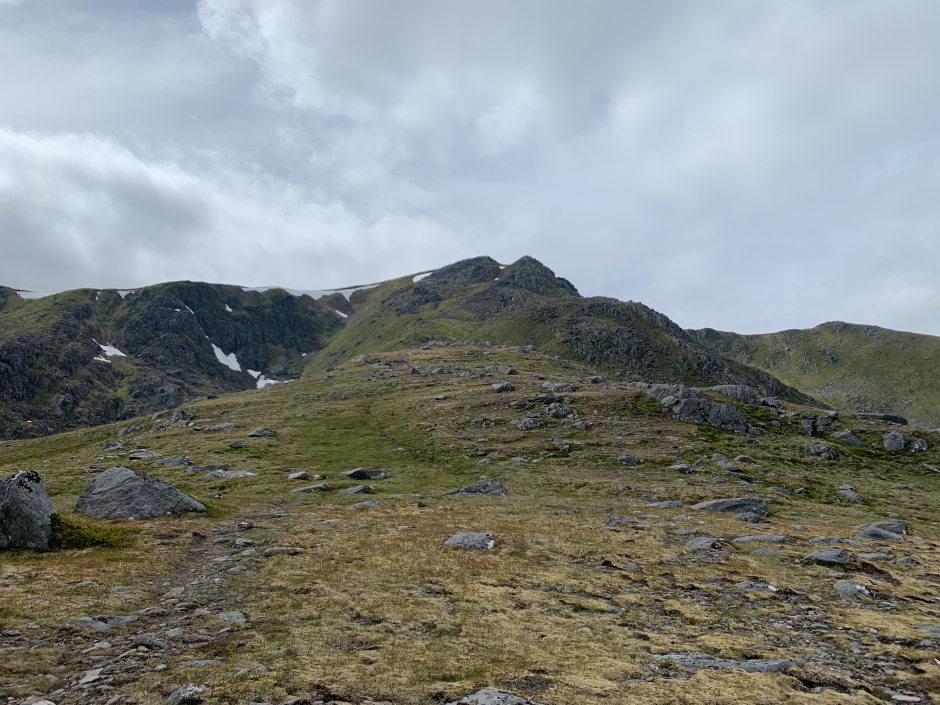
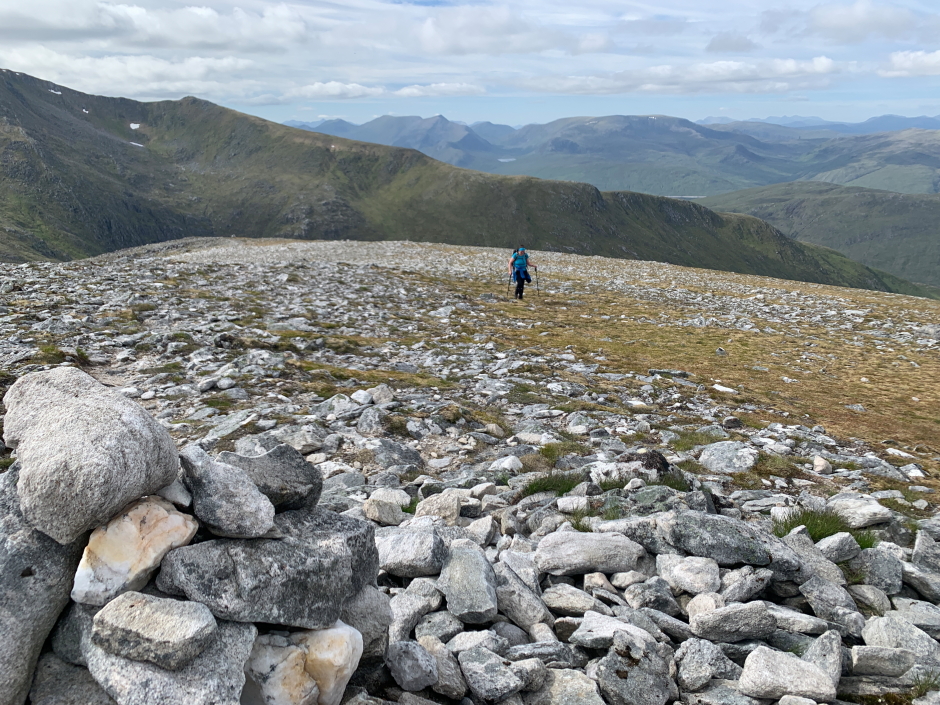
It was great to reach the final col of the day before commencing the ascent of the fourth and final Munro, Carn nan Gobhar. I was in two minds whether or not to ascend Carn nan Gobhar as I had last ascended it in 2018. As Ann-Marie had not done it previously, I opted to ascend it again as it would probably make the walk out easier anyway.
Carn nan Gobhar:
We took our time during the final ascent to soak in the views which were great. We also took our time because our legs were feeling the pain of so much ascent and descent.
Looking back to Sgurr nan Clachan Geala and Sgurr na Lapaich during ascent of Carn nan Gobhar:
View from Carn nan Gobhar:

At the summit of Carn nan Gobhar:
With four Munros and three Munro Tops in the bag we decided to forego the final Munro Top which I had also ascended in 2018 - my final Munro from the original 1891 Munro list.
At the lower of Carn nan Gobhar's twin summits:

We next made our way down towards Mullach na Maoile but avoided any re-ascent by bailing-off the side down towards the start of an excellent hydro scheme track.
Descent towards Mullach na Maoile:
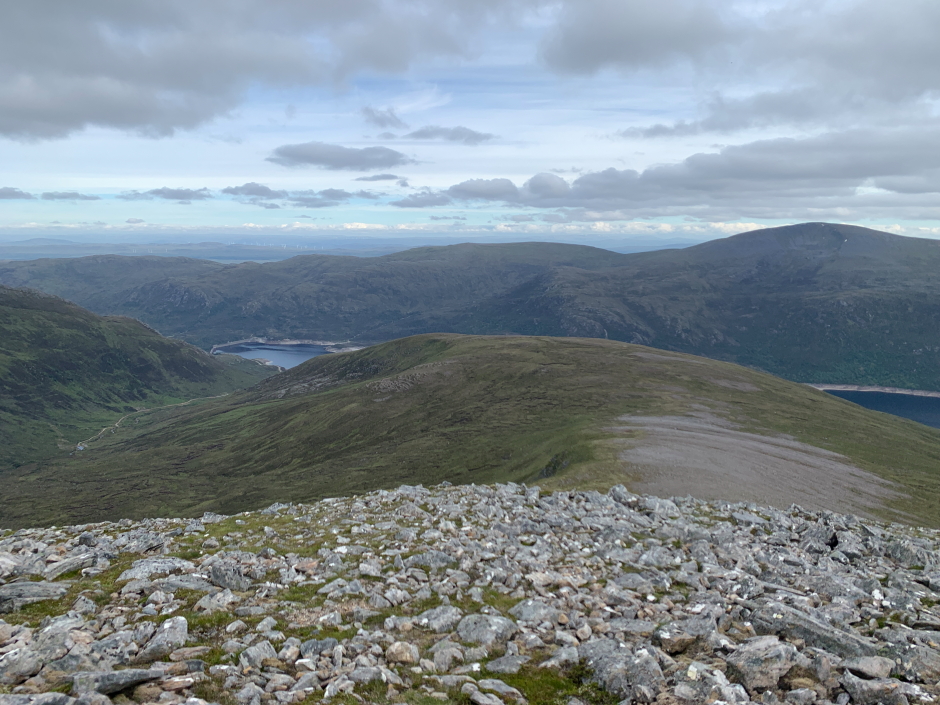
On reaching the hydro scheme track we followed it down to the lochside track which we then followed back out to the van.
Onto the track alongside Loch Mullardoch:
Great to again ascend these fine mountains and 100% recommend using the boat to allow for a traverse.
28 remaining in Round 2.