
Date: Monday 21st March 2022
Company: Myself and Ann-Marie
Distance: 15km, Ascent: 780m
Time: 5Hrs 55Mins
We drove to Buttermere this morning for an ascent of Haystacks and Fleetwith Pike. From the outset, the weather was sublime
Route:

From the free parking area near the church, we descended into the village and then down to Buttermere. Having walked round Buttermere several times previously, I knew the views today would be somewhat special.
Bridge Hotel, Buttermere:

We opted to undertake an anti-clockwise circuit of the fells thus tackling the scrambling on Haystacks in ascent and the relentlessly steep NW ridge of Fleetwith Pike in descent.
We stopped several times during the walk along the south bank of Buttermere to take photographs and to enjoy the stunning reflections.
Fleetwith Pike beyond Buttermere:

Looking back to Buttermere village:

Buttermere reflections:

Buttermere reflections:

Buttermere reflections:

On approaching the east end of Buttermere we stopped briefly to chat with another walker who advised that on the day previous there were hordes of people at and around Buttermere. Today, there was hardly anyone
Fleetwith Pike reflecting on Buttermere:

We then commenced our ascent towards the col between High Crag and Haystacks.
Looking back to Buttermere during the initial ascent:

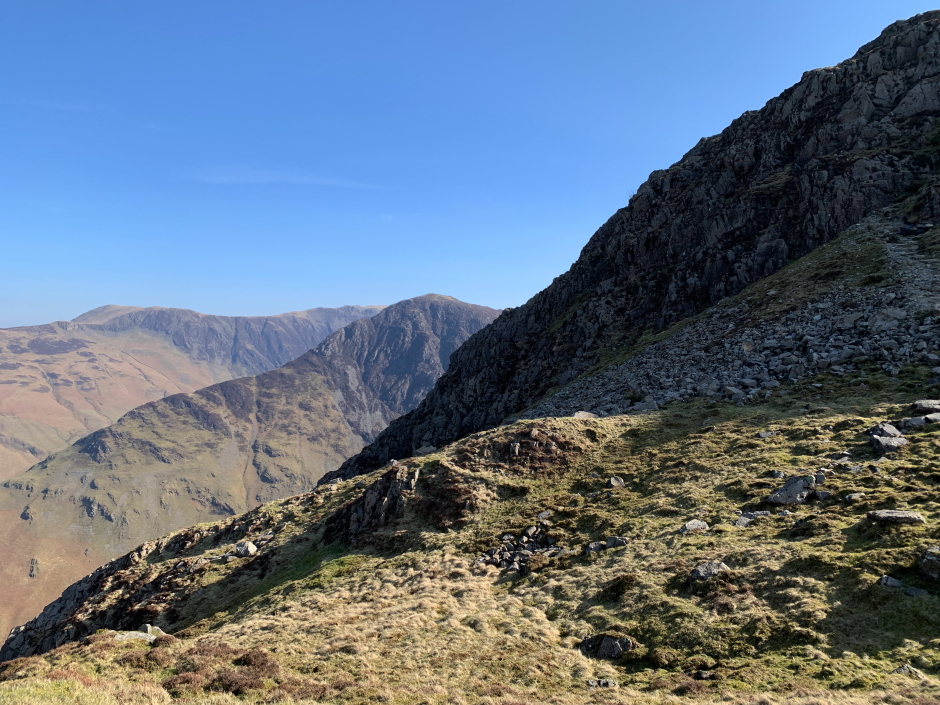
During the initial ascent of Haystacks we got good views of the profile of Fleetwith Pike's NW ridge that we would be descending later in the day. From a distance, it looked steep!
Fleetwith Pike:

Thanks to the excellent quality track we soon reached the col. Ahead we could see numerous bands of rock to negotiate during the ascent.
Haystacks:

Looking back towards High Crag:

The scrambling on Haystacks was delightful with nothing difficult encountered. An easy grade 1.
Ascending Haystacks:
High Crag and Buttermere from Haystacks:

Easy scrambling on Haystacks:

Approaching the summit of Haystacks:

On reaching the summit we stopped for a break to take photographs and to admire the views.
View across to Pillar from the summit of Haystacks:

From the summit of Haystacks we made our way down towards Black Beck Tarn and then up and over numerous knolls to eventually reach the col between Haystacks and Fleetwith Pike.
Looking towards Black Beck Tarn from the summit of Haystacks:

Lots of ups and downs en-route from Haystacks to Fleetwith Pike:

A short distance above the col we passed a nice slate building. I believe it is a bothy but we didn't know this at the time and thus did not have a look inside
Bothy at disused mine:

With a maze of old quarry tracks, footpaths and sheep tracks, we initially decided to follow the widest quarry track before ending up on a sheep track and then a footpath which led to the summit.
Looking back towards Haystacks and the bothy:

Quarry:

The view from the summit of Fleetwith Pike is stunning.
Buttermere from the summit of Fleetwith Pike:

View from the summit of Fleetwith Pike:

From the summit, with some intrepidation, we commenced the very steep descent down the NW ridge. The descent was easier than expected but required care as a slip during the descent could have resulted in undesirable consequences.
Looking back during steep descent:

Looking back during steep descent:

Looking back at steep descent from Fleetwith Pike:

Buttermere from lower slopes of Fleetwith Pike:

We eventually reached the base of Fleetwith Pike and from there walked a short distance along the road towards Buttermere.
Fleetwith Pike:

On reaching Buttermere we followed the track along its northern side back to Buttermere village.
Fleetwith Pike and Haystacks from Buttermere:

Buttermere sign:

The circuit of Buttermere, Haystacks and Fleetwith Pike is one of the best walks I have undertaken in the Lakes. A real classic.