
Date: Saturday 20th May 2023
Company: Myself and Ann-Marie
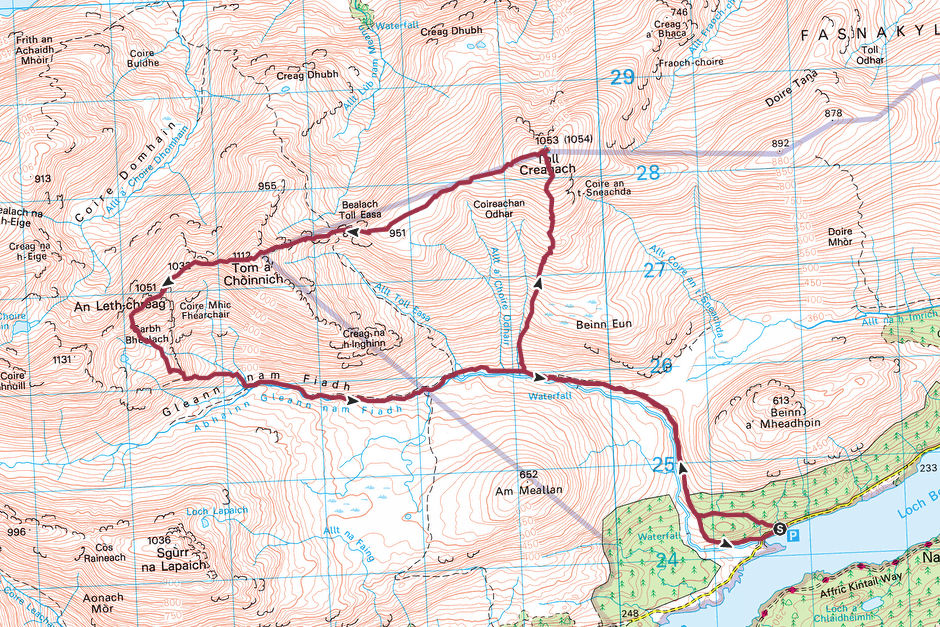
Distance: 21.1km, Ascent: 1165m
Time: 7Hrs
On Saturday morning we drove to Glen Affric for an ascent of Toll Creagach and Tom a' Choinnich. This would be my third ascent of these Munros and Ann-Marie's first ascent. We would however be extending the walk to also ascend Tom a' Choinnich Beag and An Leth-chreag, two Munro Tops that I had not ascended previously.
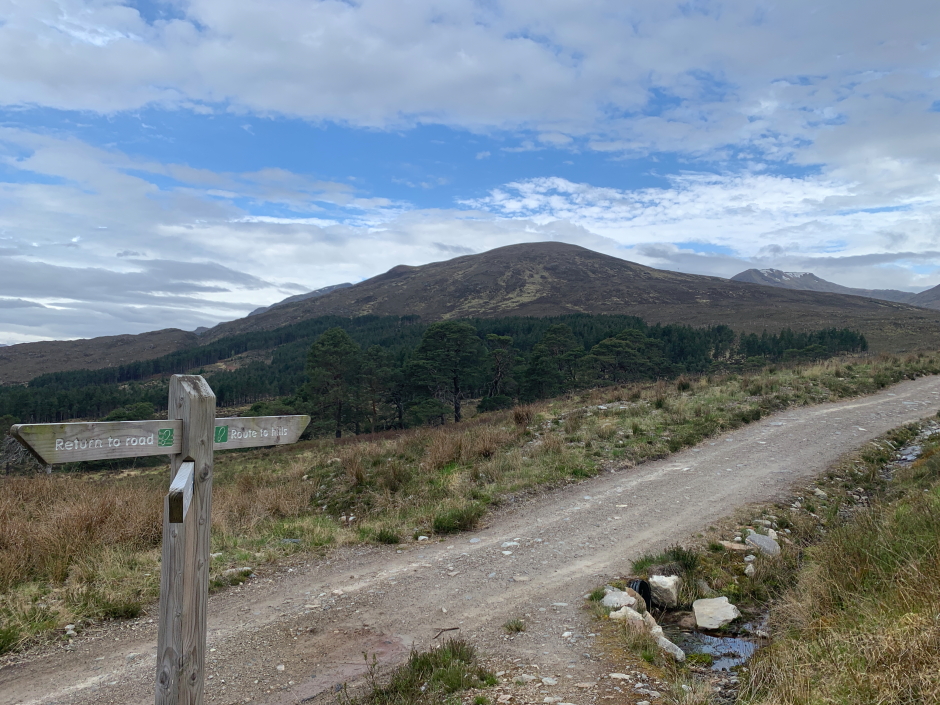
After parking in the Chisholm car park, once suited and booted we commenced our walk via a new hill path, not marked on my OS map, starting at the rear of the car park.
Route:
After c800m, the new hill path joined the main Abhainn Gleann nam Fiadh track.
Route to hills:
On the Abhainn Gleann nam Fiadh track:

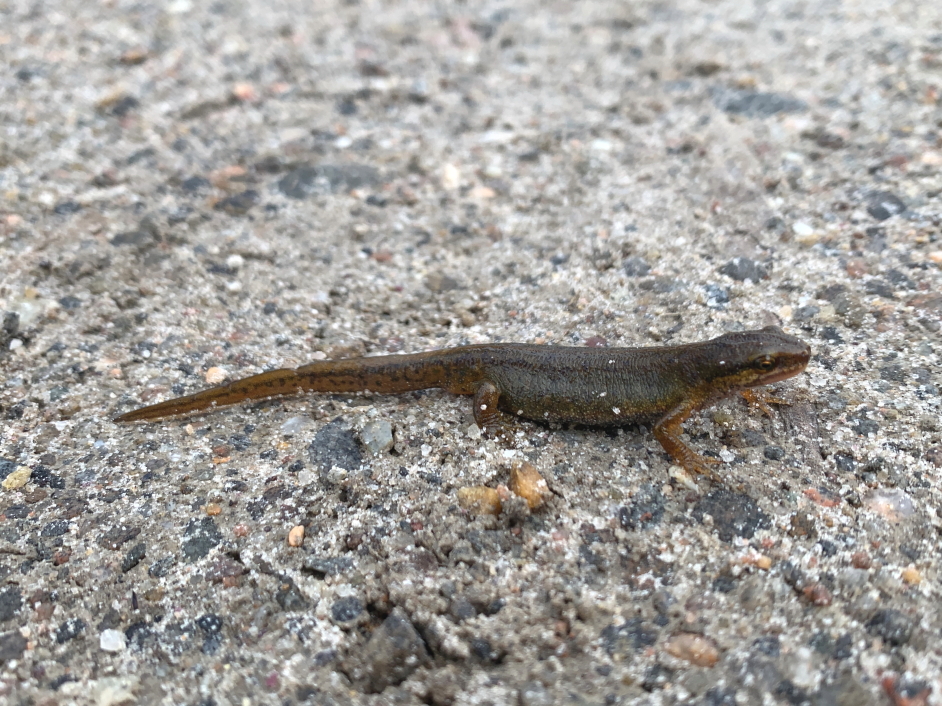
While walking along the track I spotted a newt standing on the middle of the track. I gently moved the newt to the side of the track in case it got stood on, cycled over, or driven over by anyone else using the track.
A newt:
We followed the track as far as a small hydro scheme and a few hundred metres beyond before commencing our ascent of Toll Creagach.
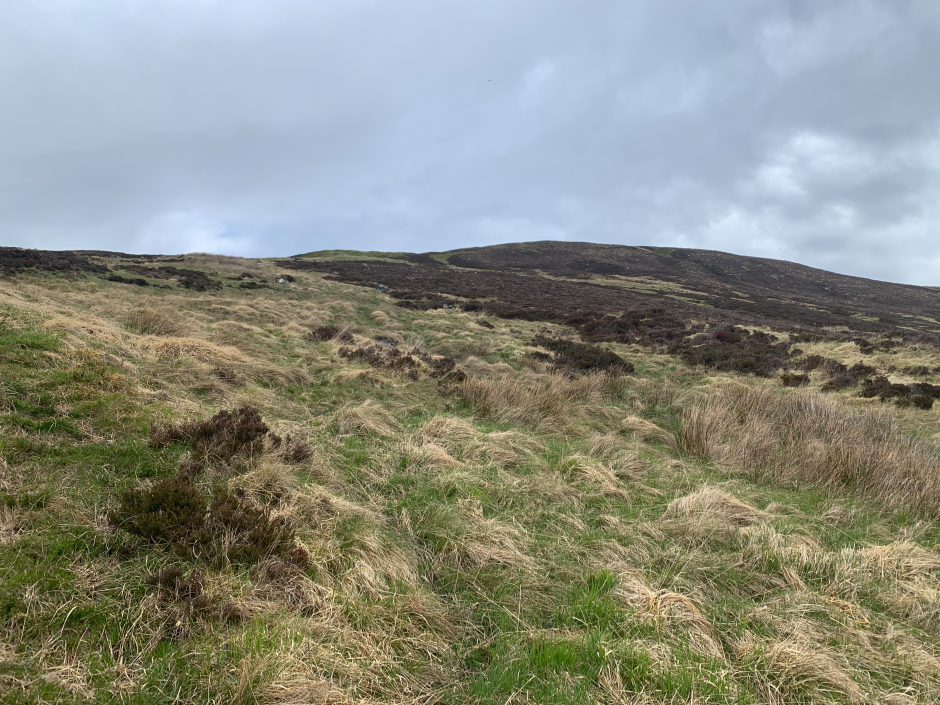
View towards Tom a' Choinnich:

I am not convinced we followed the standard Munro-bagging route up the hill as the path we followed was faint in places. It was however a pleasant way up.
Ascent of Toll Creagach:
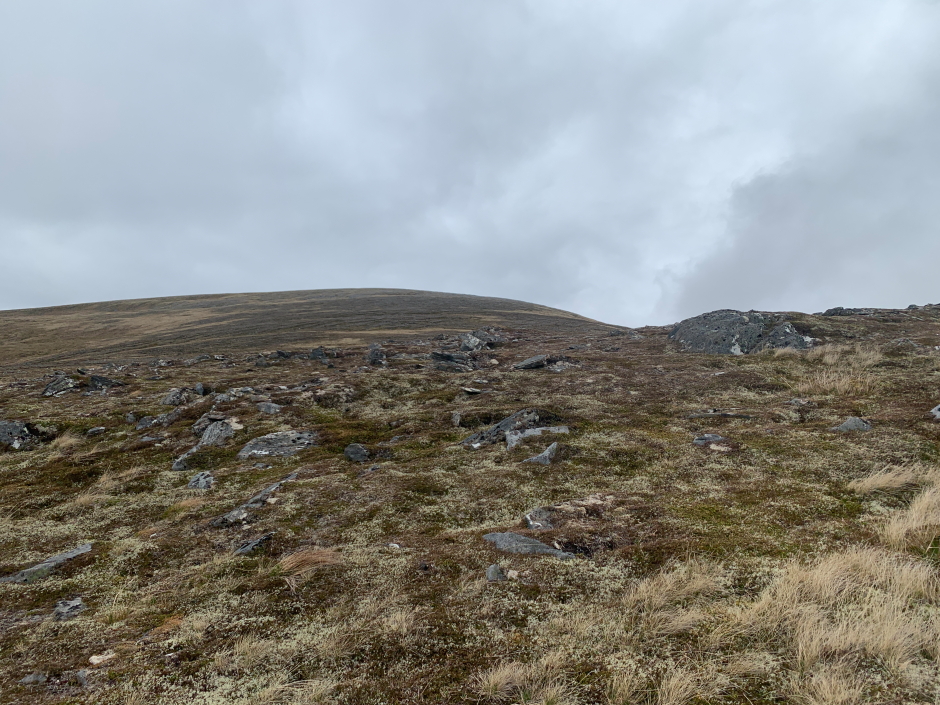
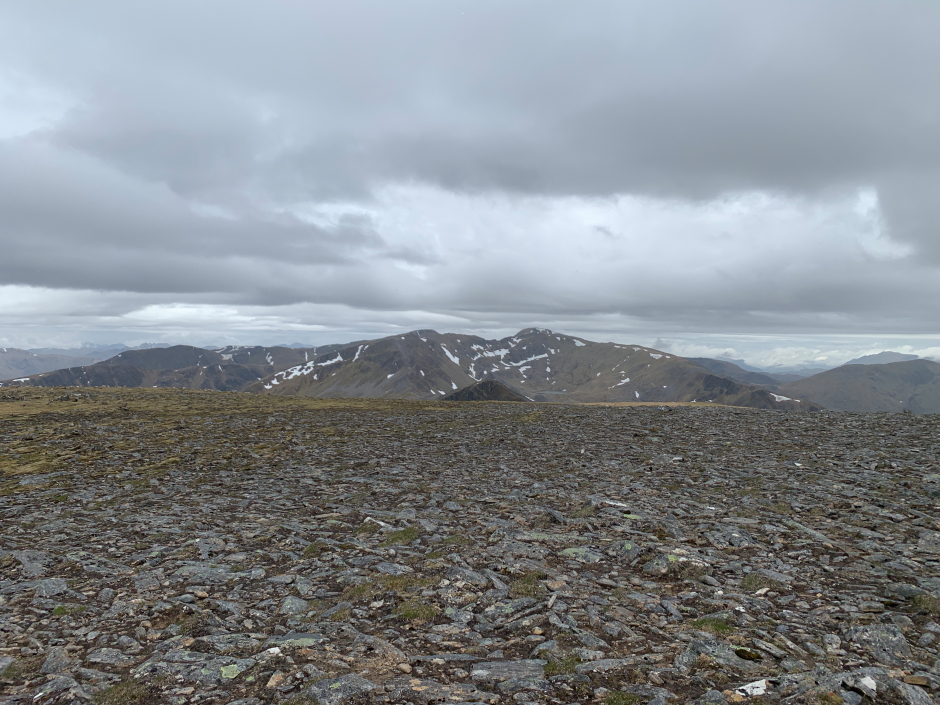
During the ascent we could see Tom a' Choinnich and also Sgurr na Lapaich, a demoted Munro that should never have been demoted. It is a great hill.
View during ascent of Toll Creagach:

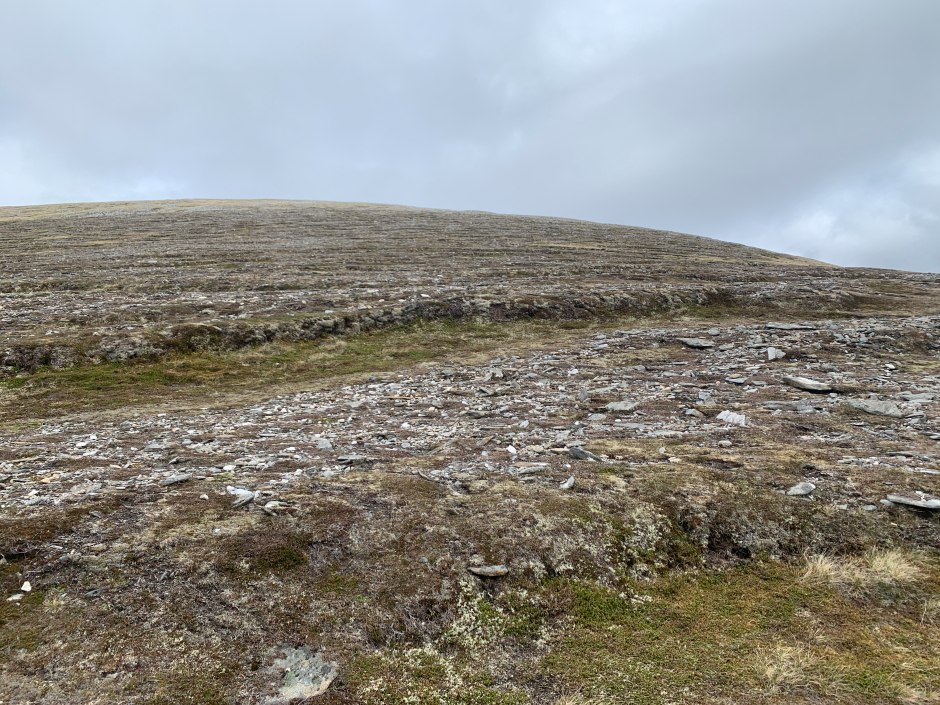
As we progressed towards the upper slopes I could see one of the best examples of solifluction I have come across on the Scottish hills. Solifluction is a gradual process by which a mass moves down a slope related to freeze-thaw activity.
Ascending Toll Creagach:
Solifluction on Toll Creagach:
Beyond the solifluction we reached the summit area where there is a large cairn and a trig point. The actual summit however, according to the Database of British Hills, is a rock twenty metres from the cairn. We visited the cairn, the trig point and the rock twenty metres from the cairn.
At the summit cairn of Toll Creagach:

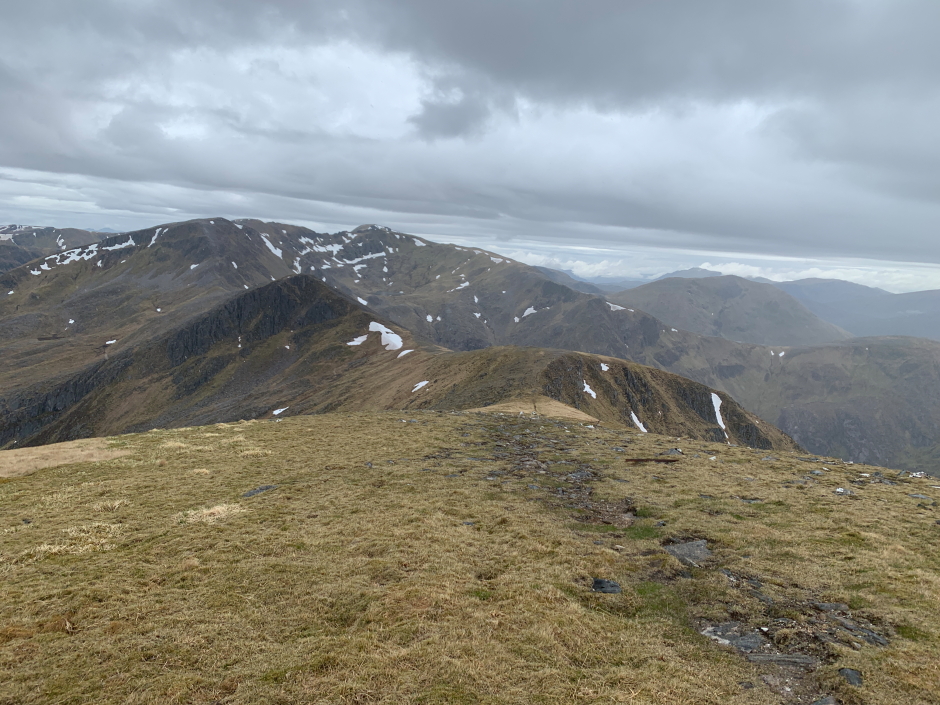
From the summit of Toll Creagach we next made our way towards Tom a' Choinnich via Toll Cregach West Top, a Munro Top that I had ascended twice previously.
At the summit of Toll Creagach West Top:

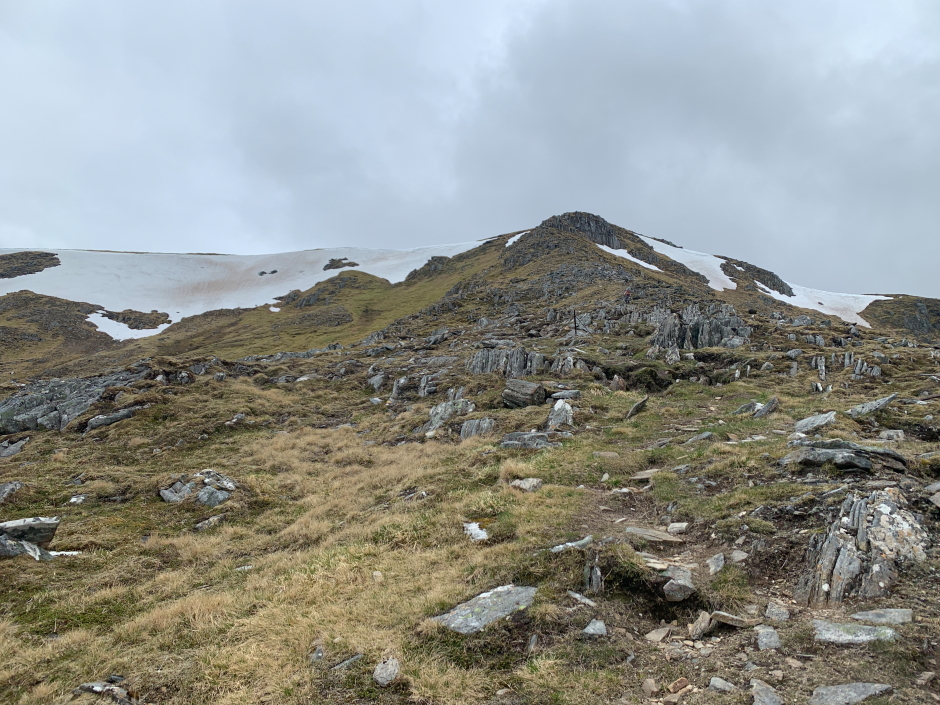
To ascend Tom a' Choinnich we followed the excellent path which zig-zags up the east ridge.
Tom a' Choinnich:

Looking back towards Toll Creagach:

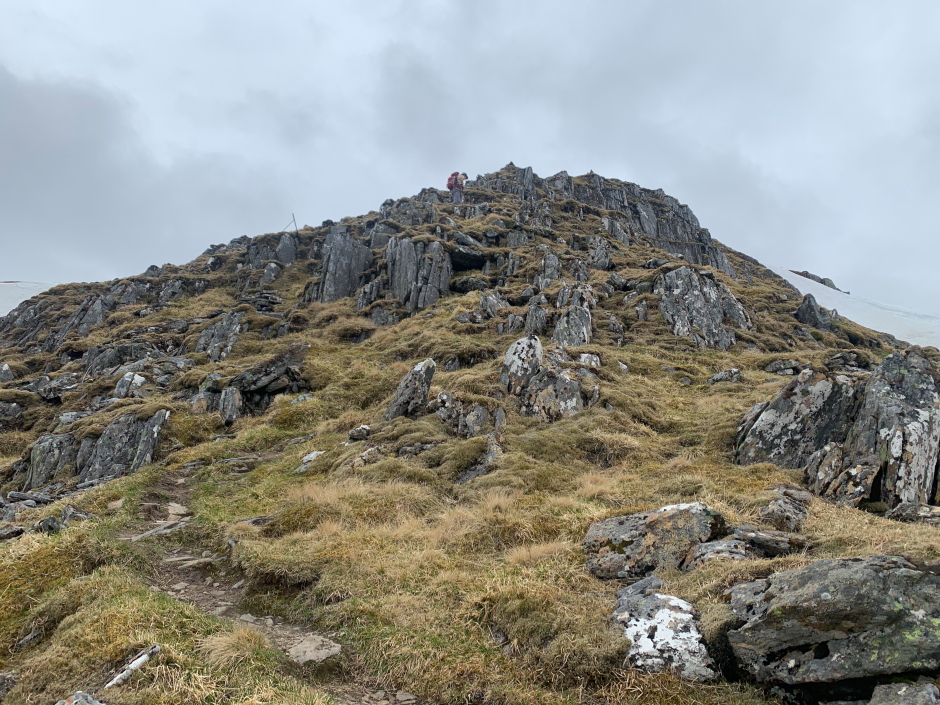
Ascending Tom a' Choinnich:
During the ascent of Tom a' Choinnich we caught-up with someone who had left the car park just ahead of ourselves. While we were approaching the summit of our second Munro, he was undertaking a clockwise circuit and was ascending his first.
Ascending Tom a' Choinnich:
On reaching the summit the man proclaimed very loudly "catastrophic error, I have forgot my lunchbox." He then told me he had had nothing to eat to which I responded "neither have I". I hadn't eaten and wasn't carrying food as I don't usually eat on the hill, so I couldn't help out even if I had wanted to. He then requested food from Ann-Marie who kindly obliged by providing about half of the food she was carrying in return for little in the way of thanks.
A lass then approached the summit, from the direction of Carn Eighe, carrying a sleeping bag and tent. I noticed the tent and enquired as to where she had camped. Tom a' Choinnich was her eleventh Munro of twelve as she was undertaking the huge circuit taking in all of the Mullardoch and Affric Munros, on her own, over only two days. From meeting a guy with whom I was really unimpressed, I was now meeting a lass for whom I had massive respect. Great effort!
View from the summit of Tom a' Choinnich:
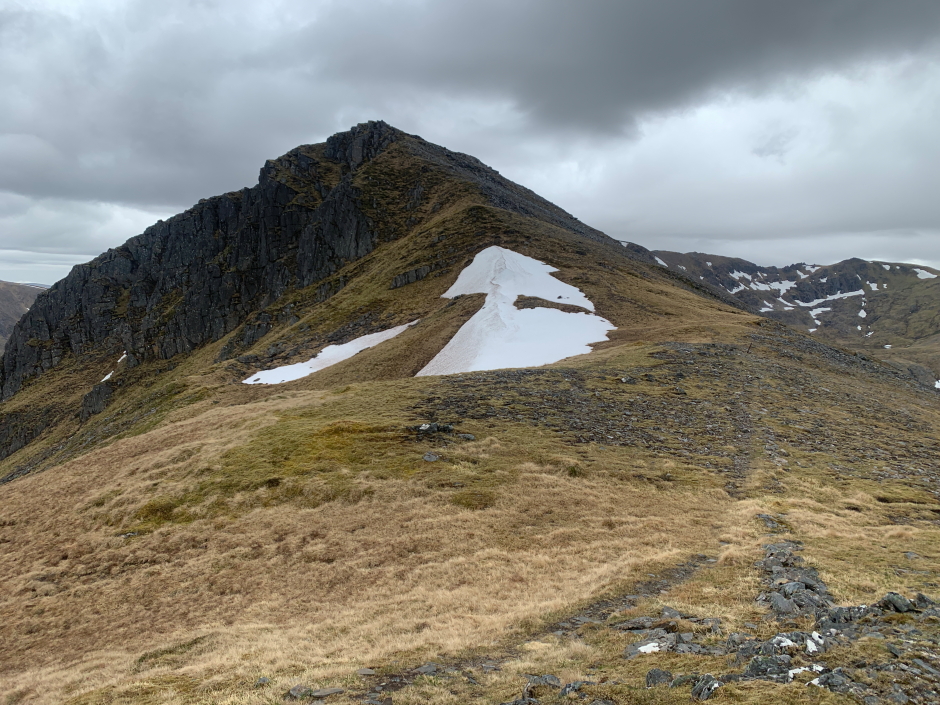
From the summit of Tom a' Choinnich we next made our way along the ridge which leads out to Carn Eighe. Between Tom a' Choinnich and Carn Eighe there are five Munro Tops. While I had previously ascended the three Munro Tops next to Carn Eighe, I had not previously ascended the two Munro Tops next to Tom a' Choinnich.
Heading for Tom a' Choinnich Beag and An Leth-chreag:
From the summit of Tom a' Choinnich, it didn't take long to reach the summit of Tom a' Choinnich Beag
At the summit of Tom a' Choinnich Beag:

We then progressed towards An Leth-chreag which also did not take long.
An Leth-chreag:
As the summit of An Leth-chreag was our final summit of the day, we now had the choice to either return to Tom a' Choinnich and descent via the standard munro-bagging route, or continue a short distance along the ridge before dropping down to Garbh Bhealach to then pick-up the path leading down to Gleann nam Fiadh. As I had been in Garbh Bhealach only a few years previous and walked the path leading down to Gleann nam Fiadh, I opted to again descend via this route. I knew however that once in Gleann nam Fiadh that the path alongside the Abhainn Gleann nam Fiadh was not fantastic.
At the summit of An Leth-chreag:

Looking back towards An Leth-chreag during descent:

After following the good path down to Gleann nam Fiadh, as expected we now had circa three kilometres of not fantastic terrain to then reach the much better track which starts from the hydro scheme.
Following the Abhainn Gleann nam Fiadh:

Abhainn Gleann nam Fiadh:

With some relief we reached the small hydro scheme and then followed the track that we had used earlier in the day back out to the car park.
I will be revisiting Glen Affric in the not to distant future as two of my seven remaining Munros are in Glen Affric and six of my thirty-six remaining Munro Tops are in Glen Affric. Glen Affric is great so looking forward to future visits.