
Date: Friday 29th December 2023
Company: Just myself
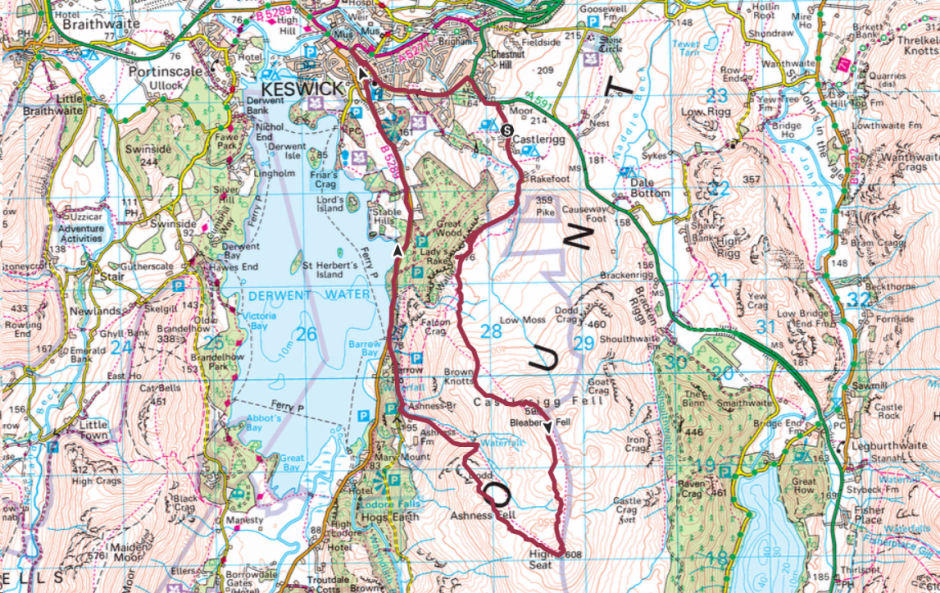
Distance: 16.2km, Ascent: 645m
Time: 5Hrs
As the forecast this morning was again sub-optimal, 50-60mph winds and heavy rain, I opted to stay relatively low. I drove to Keswick with a view to ascending Walla Crag.
Route:
While I really like the Lake District, I dislike extortionate parking charges imposed by the National Trust which seems to have a monopoly on Lake District car parks, especially in the Central Fells area. It should not cost locals and tourists 6.00 to park for up to 2 hours, 7.50 to parking for up to 4 hours, and 8.60 to park for more than 4 hours.
I really don't mind paying a reasonable amount for parking, providing the income generated is used to maintain paths however I think no-one should have to pay more than 5.00 for a full-day parking to get out on the hill. If you start walking early, there are however often free parking spaces to be had near these car parks. Out of principle, I refuse to use National Trust car parks.
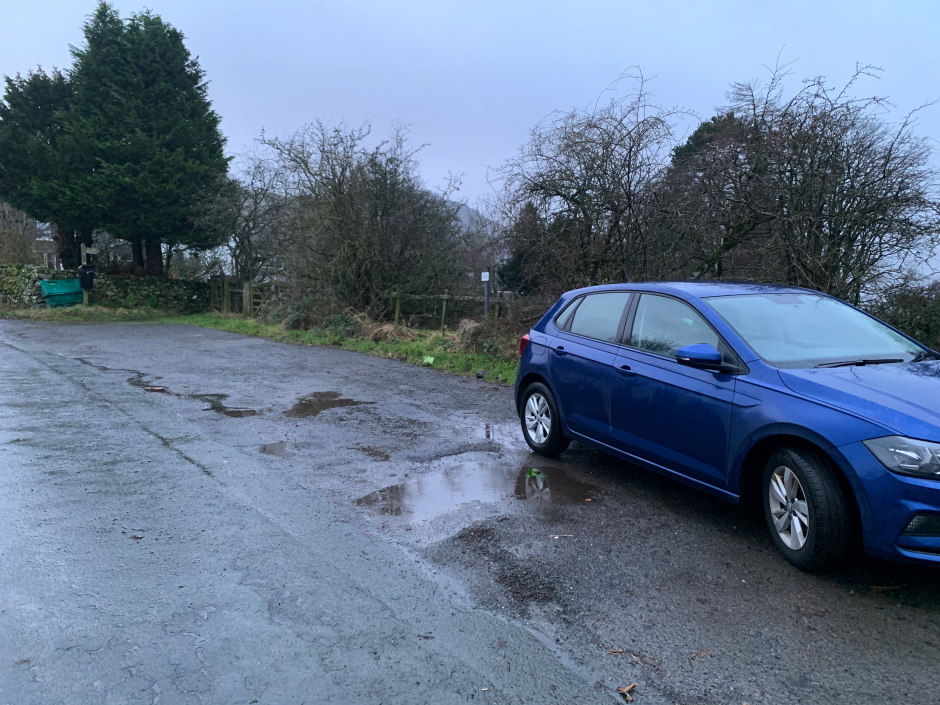
For this walk, I parked in a small area of free parking on the Castlerigg road leading to Rakefoot.
Free parking on road leading to Rakefoot:
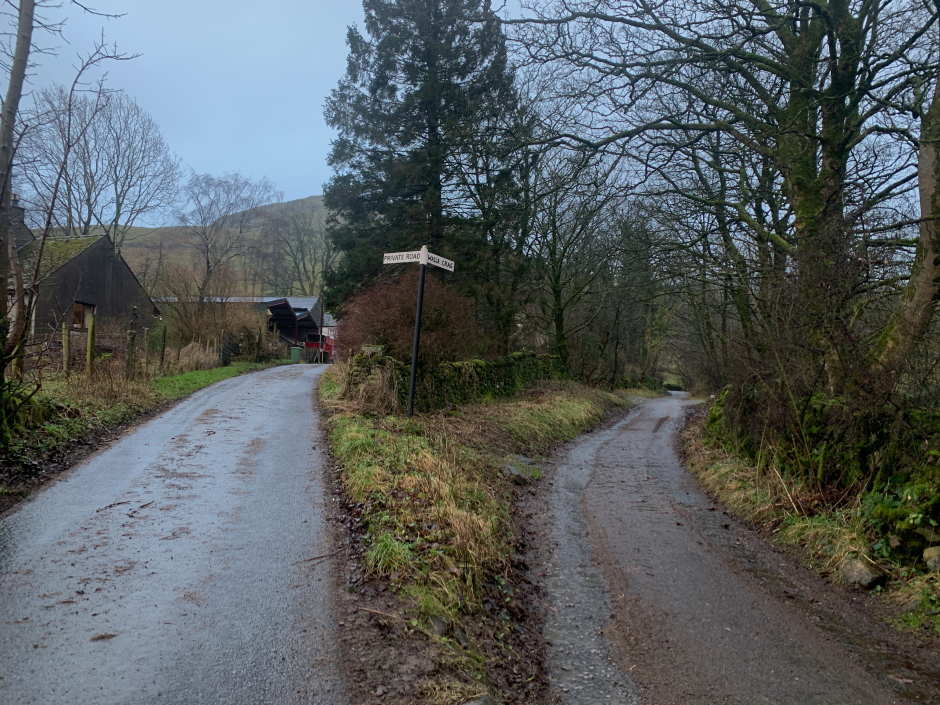
Once suited and booted, I set off walking towards Walla Crag.
Walla Crag signposted at Rakefoot:
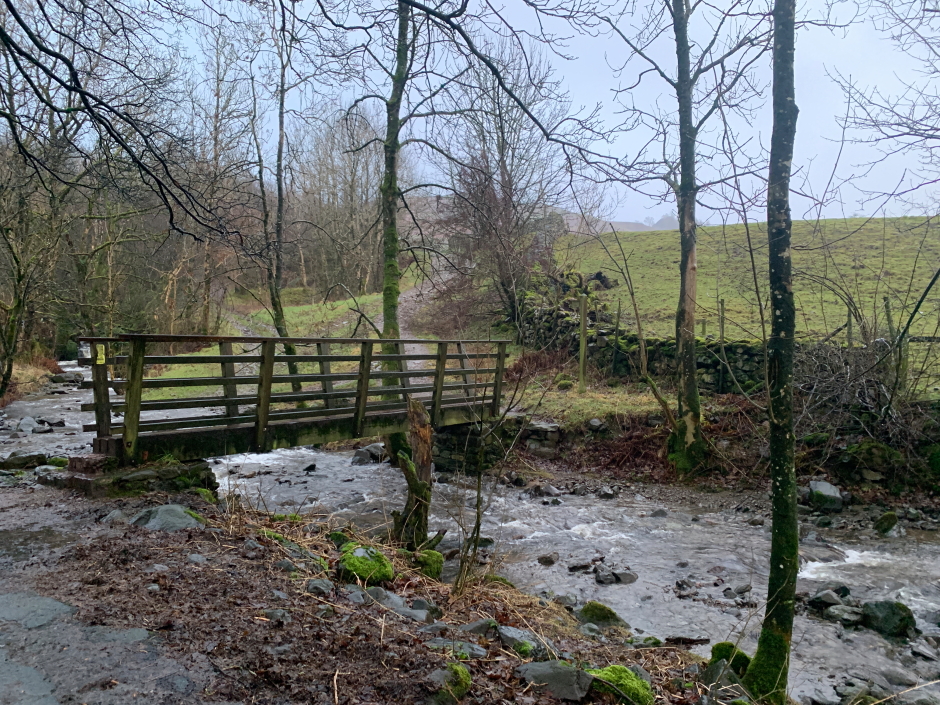
The weather was rank from the outset so it was just a case of head down and crack on.
Bridge over Brockle Beck at Rakefoot:
The ascent of Walla Crag is very short and straight-forward from my starting point.
Ascending Walla Crag:
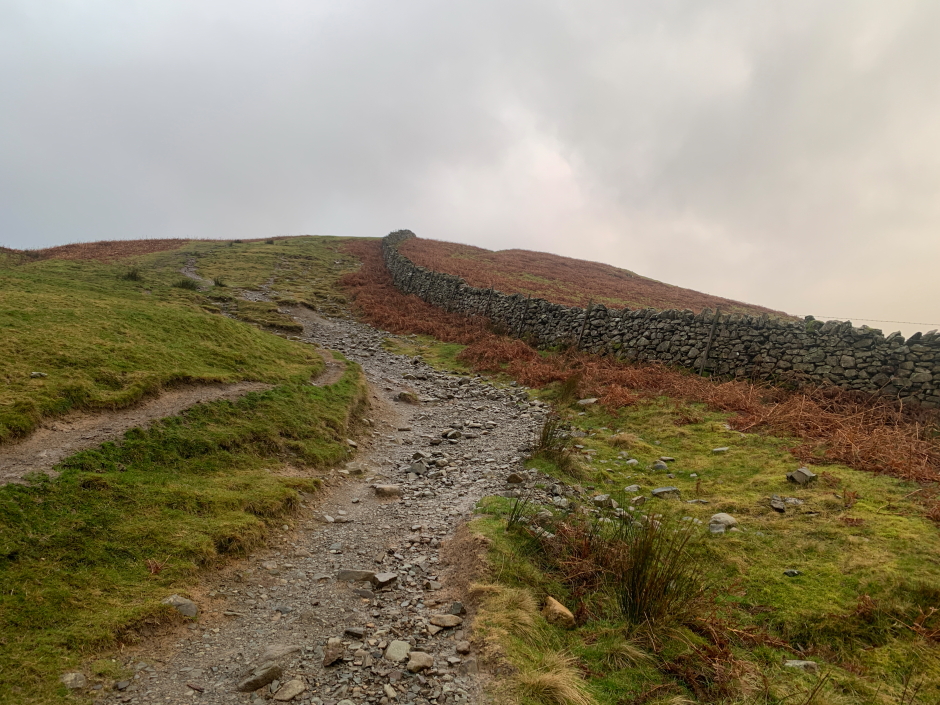
Ascending Walla Crag:
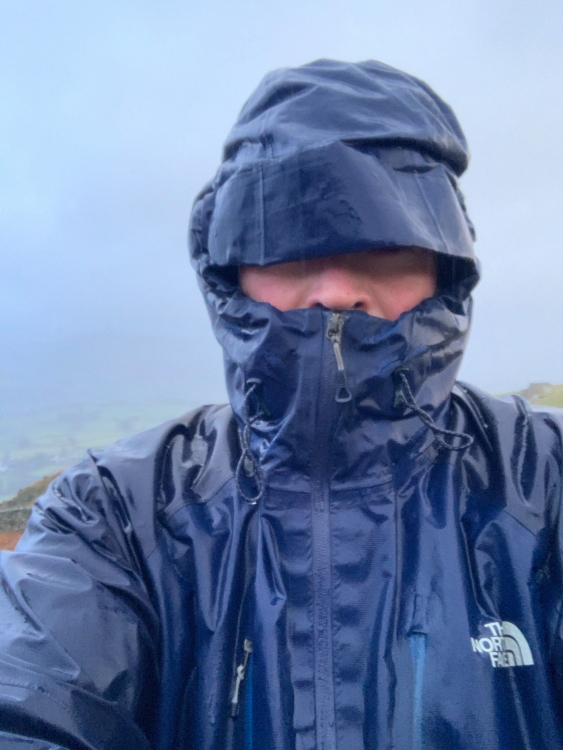
As I progressed towards Walla Crag, the rain got heavier and heavier. It was also blowin' a hoolie.
Sub-optimal weather selfie:
On reaching the summit area, I initially followed a small path leading round the edge of the crags. The wind was however funnelling up one section of the crag. The combination of crazy windspeed and heavy rain forced a retreat back to the main path. Carrying on along the edge today was above my risk tolerance. Once back on the main track, it was an easy walk to the summit.
Stile near the summit of Walla Crag:

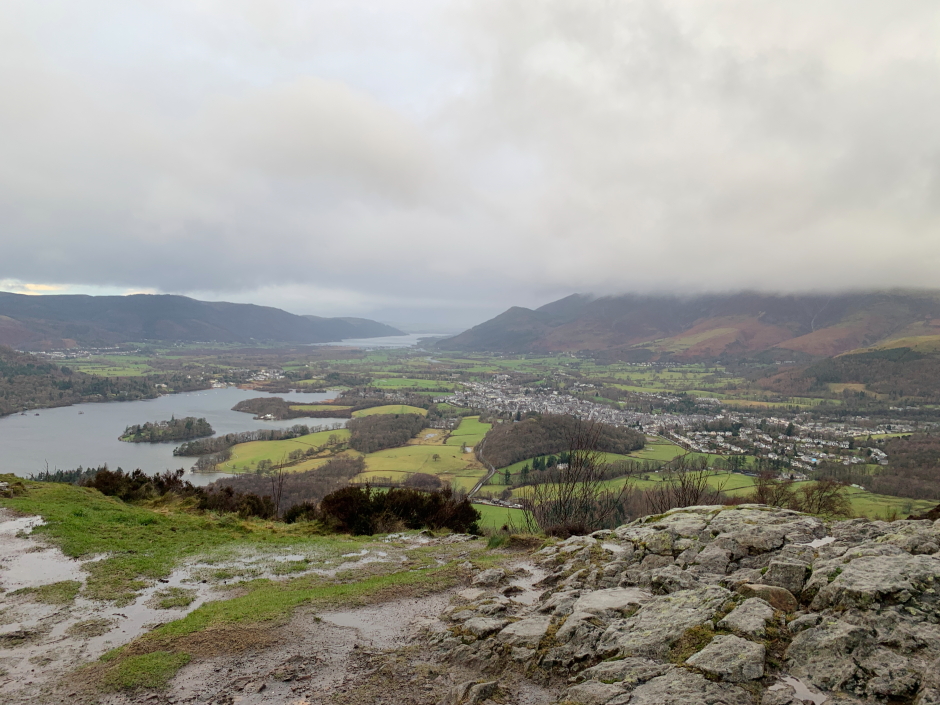
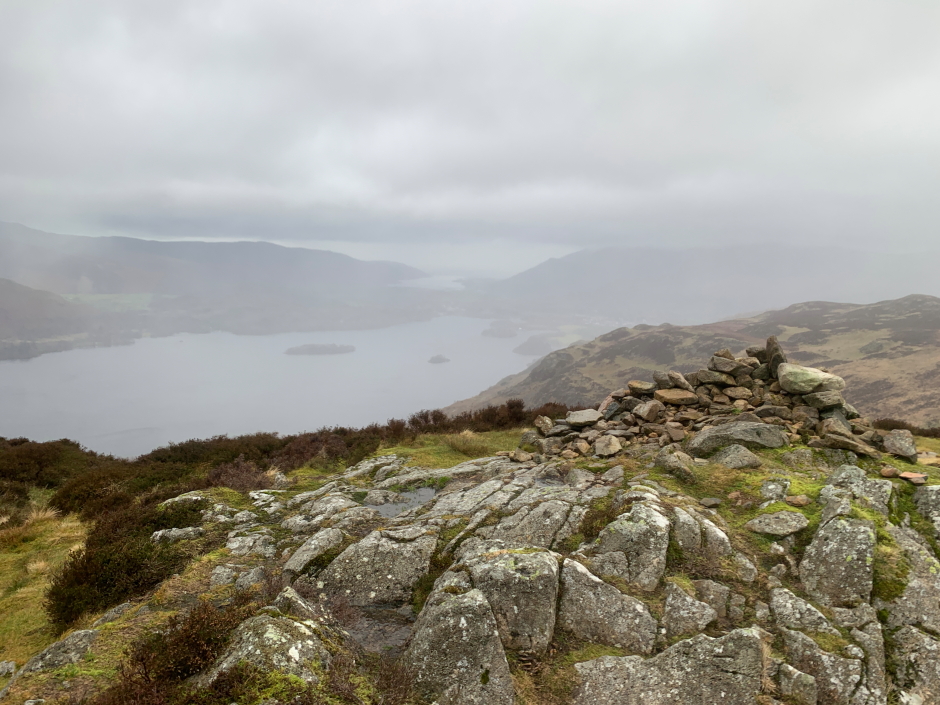
While it was nice to see Derwent Water and Keswick from the summit, I suspect I was not seeing this view at its best. It is therefore my intention to re-ascend Wall Crag on a better day as I suspect it is a really good viewpoint.
Derwent Water and Keswick from the summit of Walla Crag:
As per my previous two walks, I decided to extend the walk to take in more fells. I was already very wet so it would make no difference getting any wetter. I therefore continued on towards Bleaberry Fell.
I believe an English bleaberry is the same as a Scottish blaeberry.
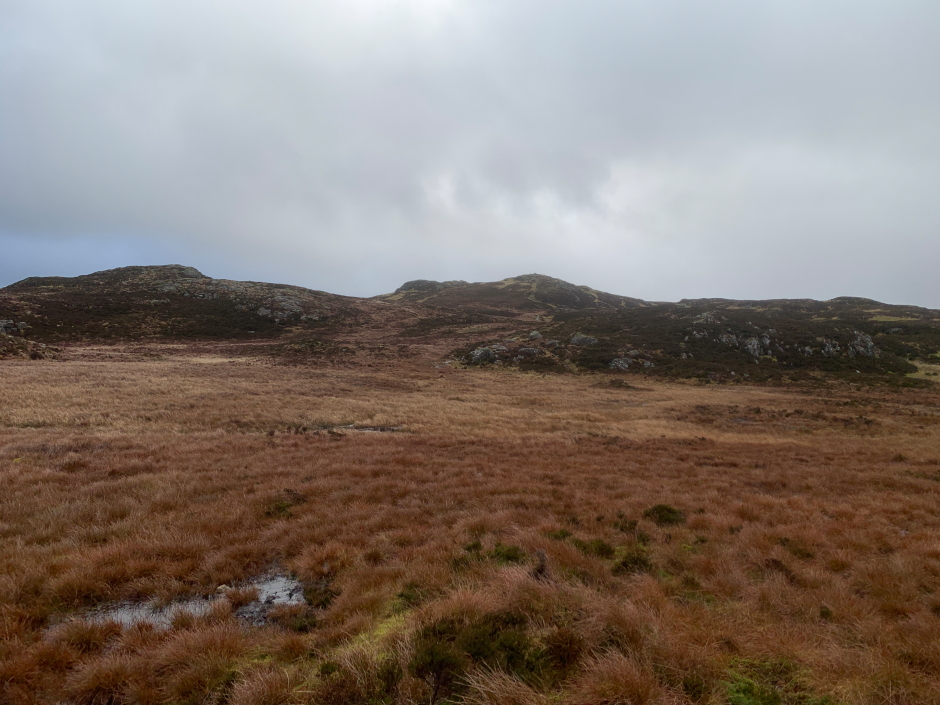
View towards Bleaberry Fell:
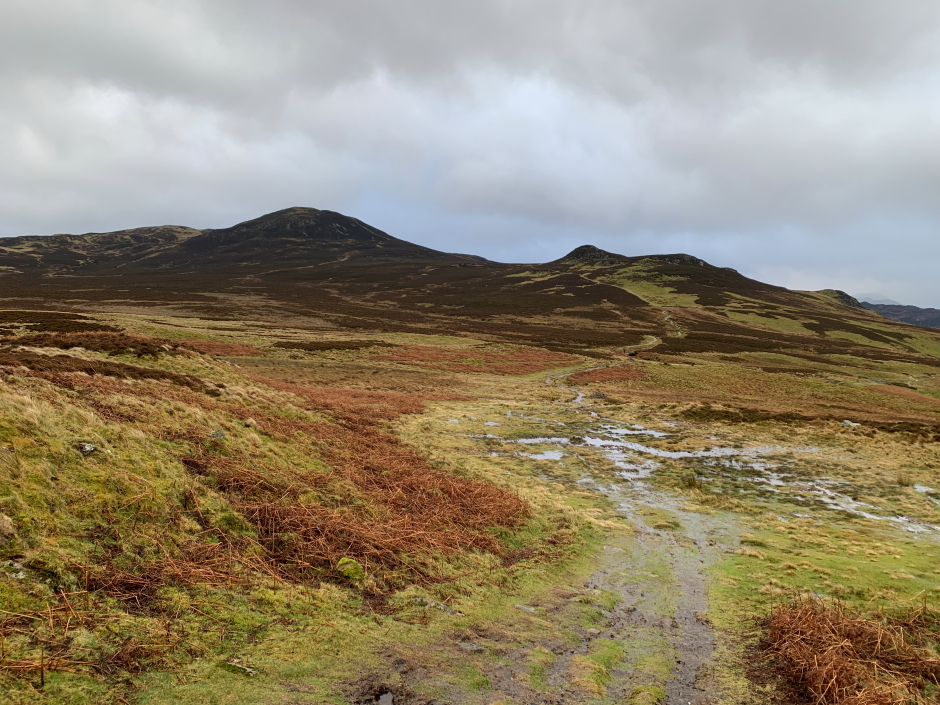
Looking back towards Walla Crag:

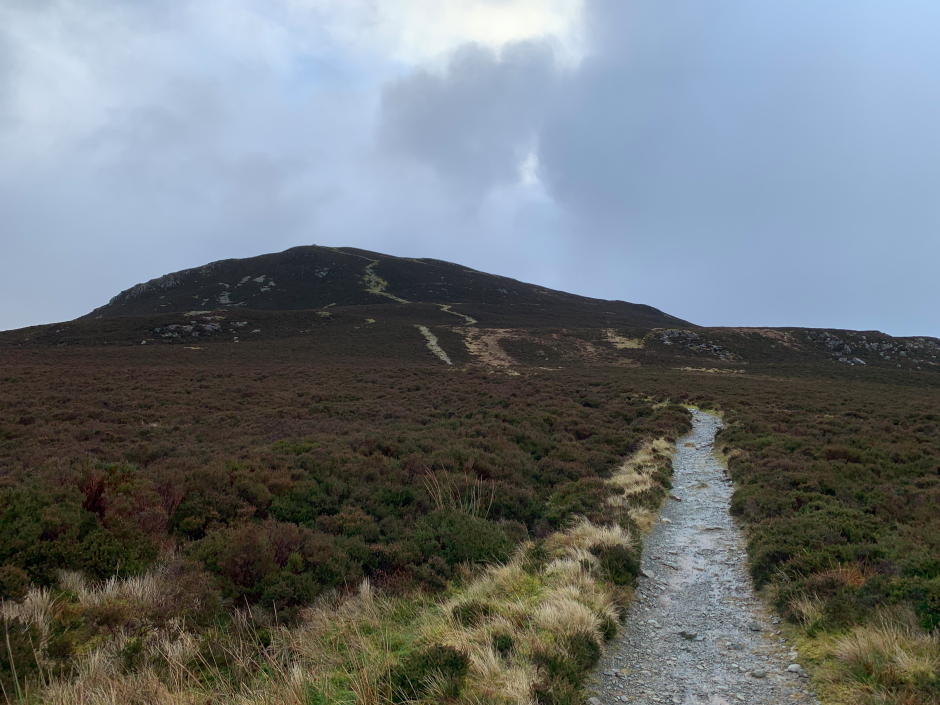
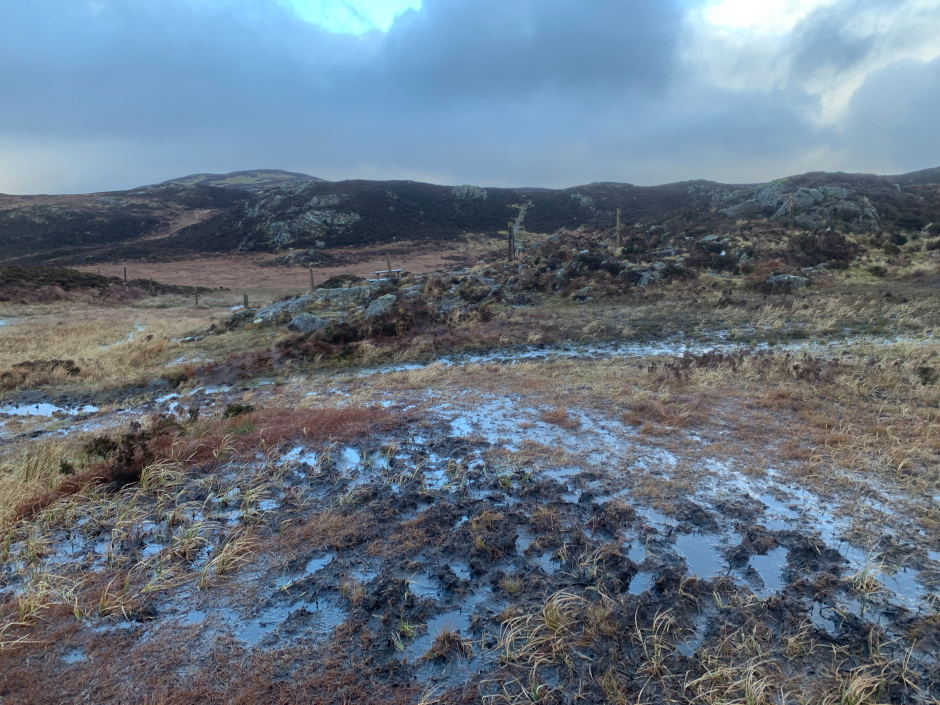
The track leading towards Bleaberry Fell was mostly good despite the weather with just the occasional wet section.
Ascending Bleaberry Fell:
I passed two sizeable cairns enroute to the summit.
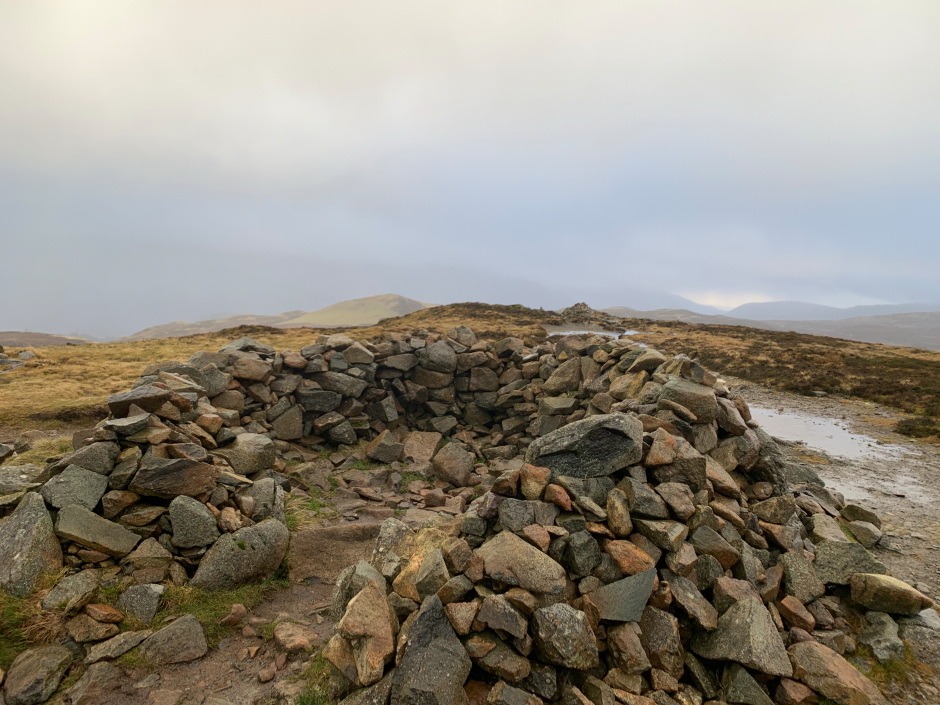
Summit shelter on Bleaberry Fell:
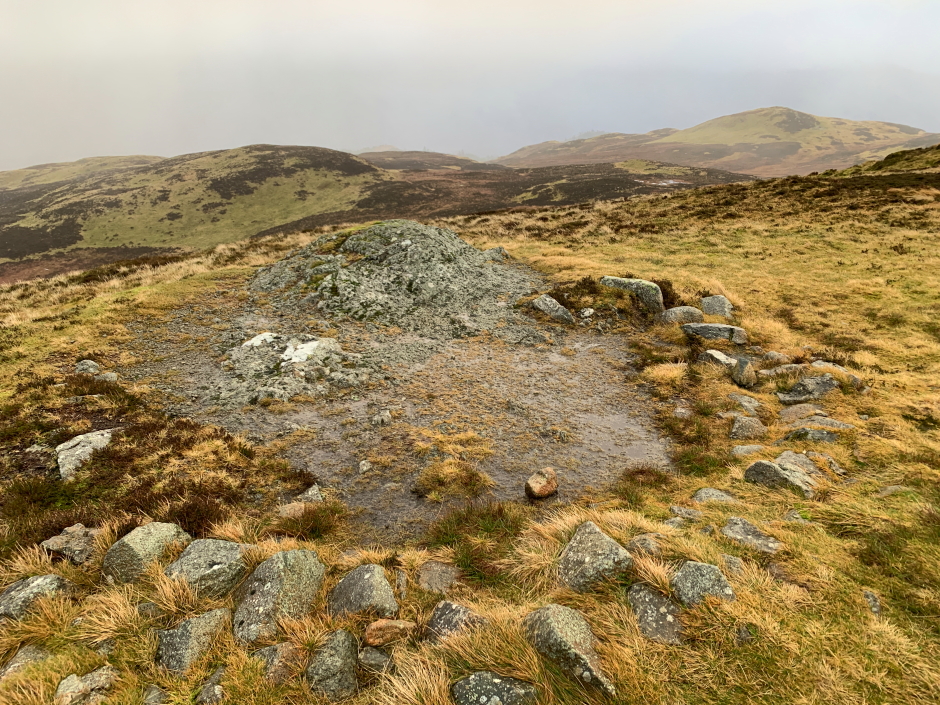
Summit rock on Bleaberry Fell:
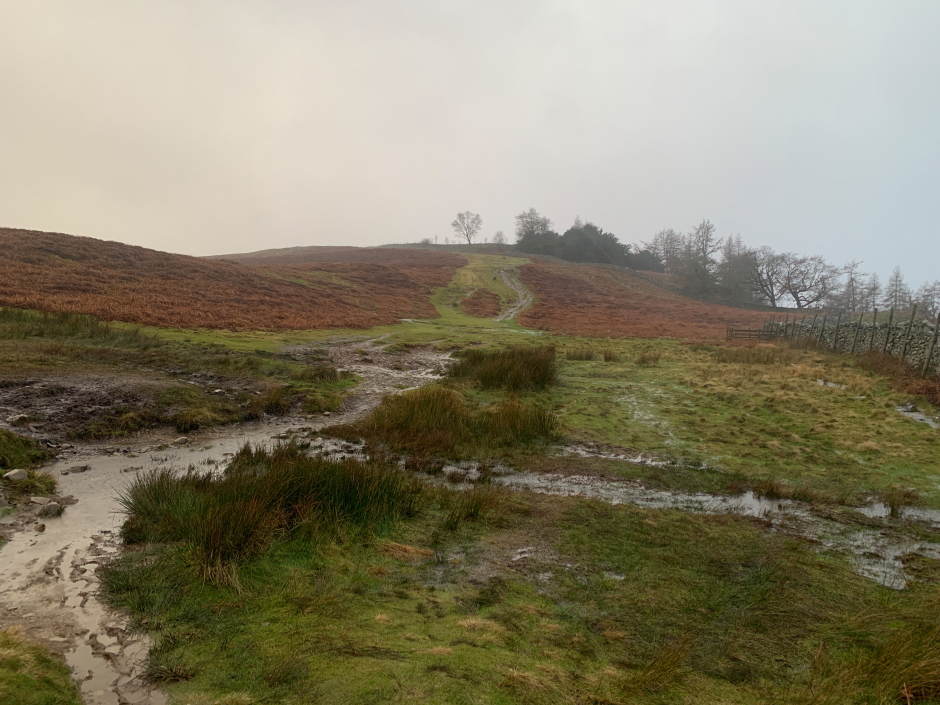
After passing another cairn, I commenced the descent towards my third and final Wainwright of the day, High Seat.
High Seat from Bleaberry Fell:

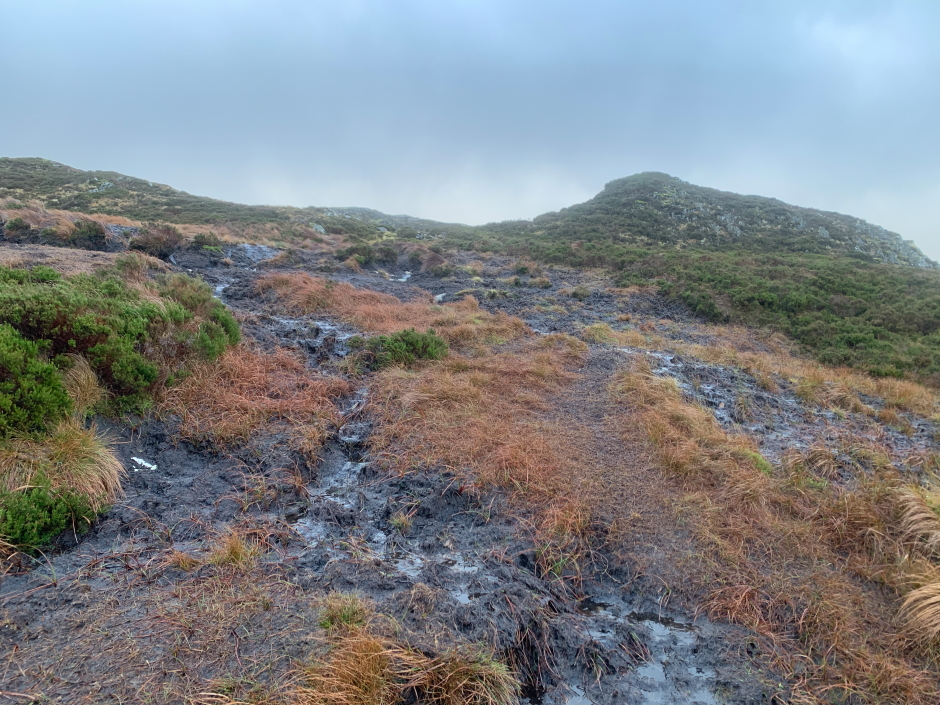
The terrain between Bleaberry Fell and High Seat was exceedingly shit.
Awful terrain:
Awful terrain:
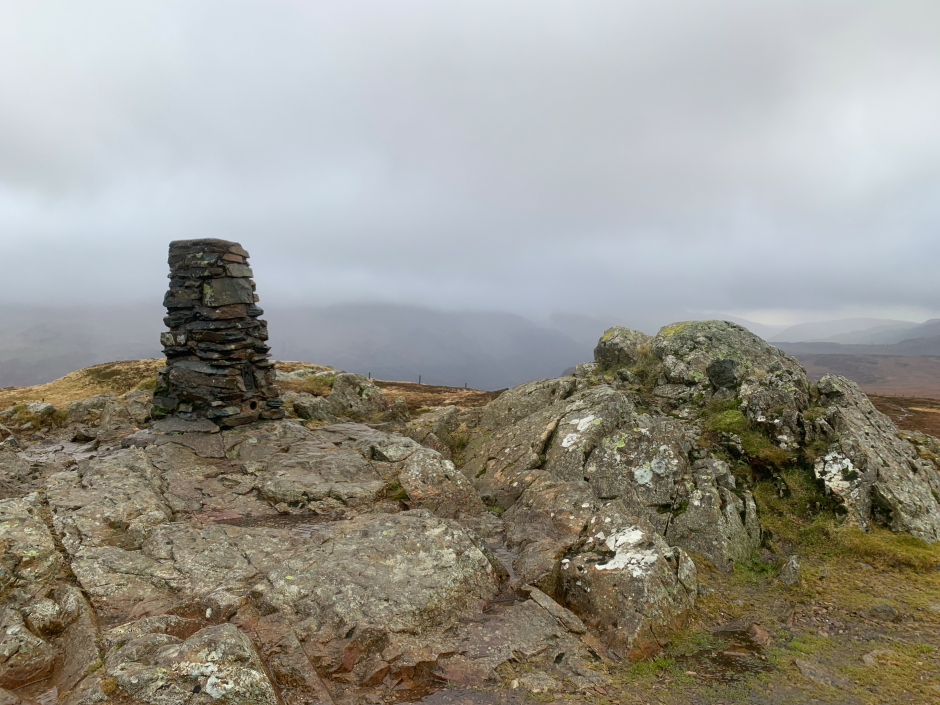
With some relief, I passed the worst of the awful terrain and reached the summit of High Seat.
At the summit of High Seat:
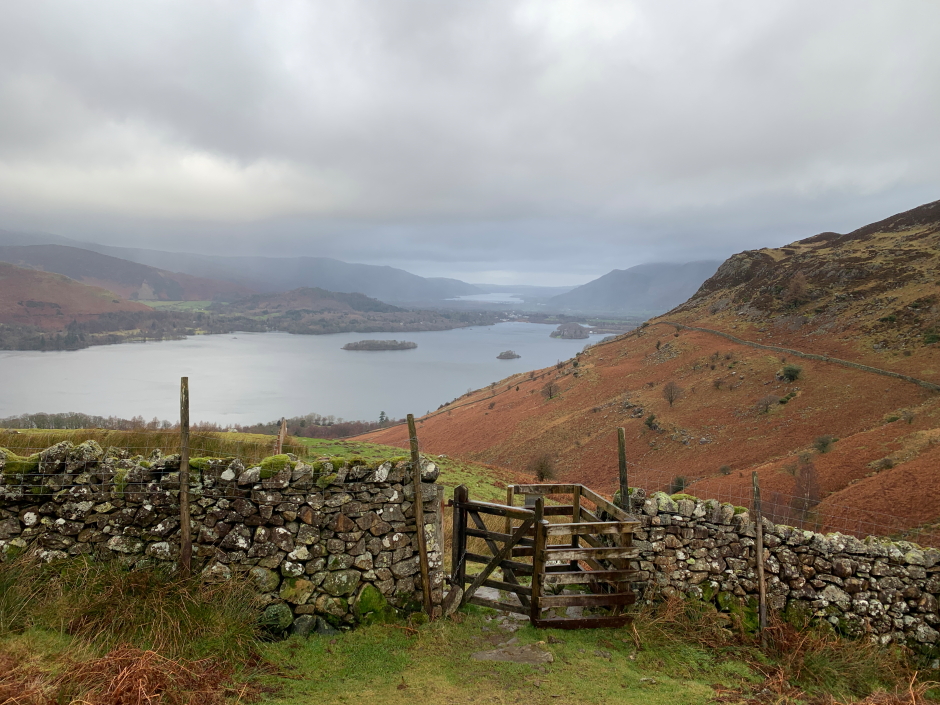
I was now in two minds as to how to return to the car. The shortest route was to retrace my inbound route back over Bleaberry Fell. However, retracing my route would not be at all interesting. I therefore opted to take a longer way back descending to Derwent Water and then walking alongside Derwent Water to reach Keswick. On reaching Keswick, I would be able to stop for some food and have a small beer before returning to the car.
Looking back to High Seat:
Viewpoint cairn on Dodd, passed in descent:
A short distance beyond the cairn in the above photo, I descended via a steep path of constructed steps. These were definitely slippery when wet.
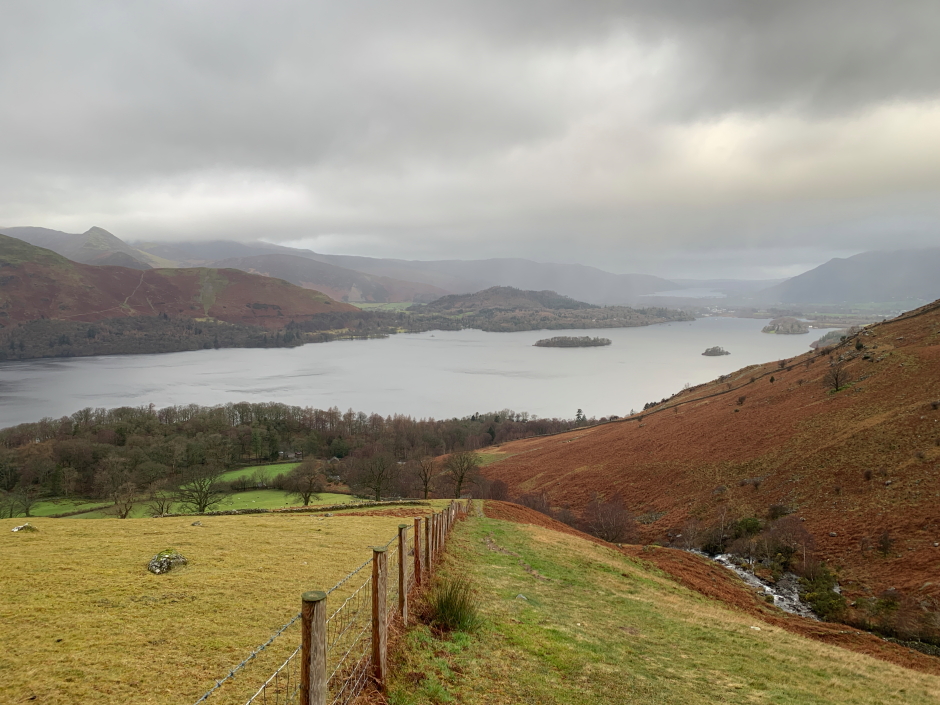
Derwent Water:
On reaching the grass, the descent was much more pleasant.
Lovely view of Derwent Water descending next to Ashness Farm field:
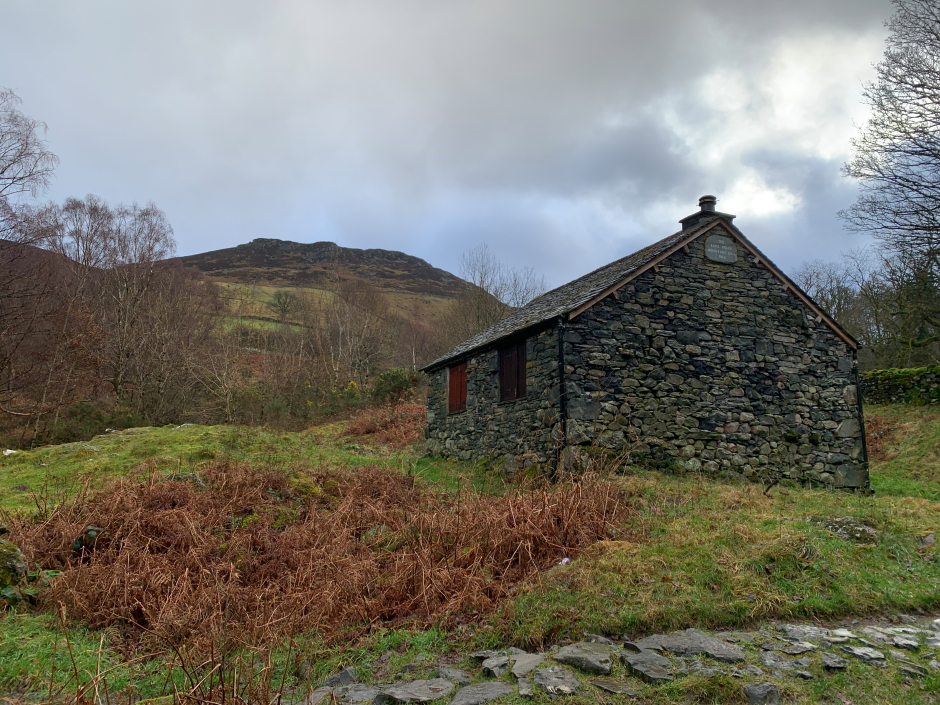
Building near Ashness Bridge:
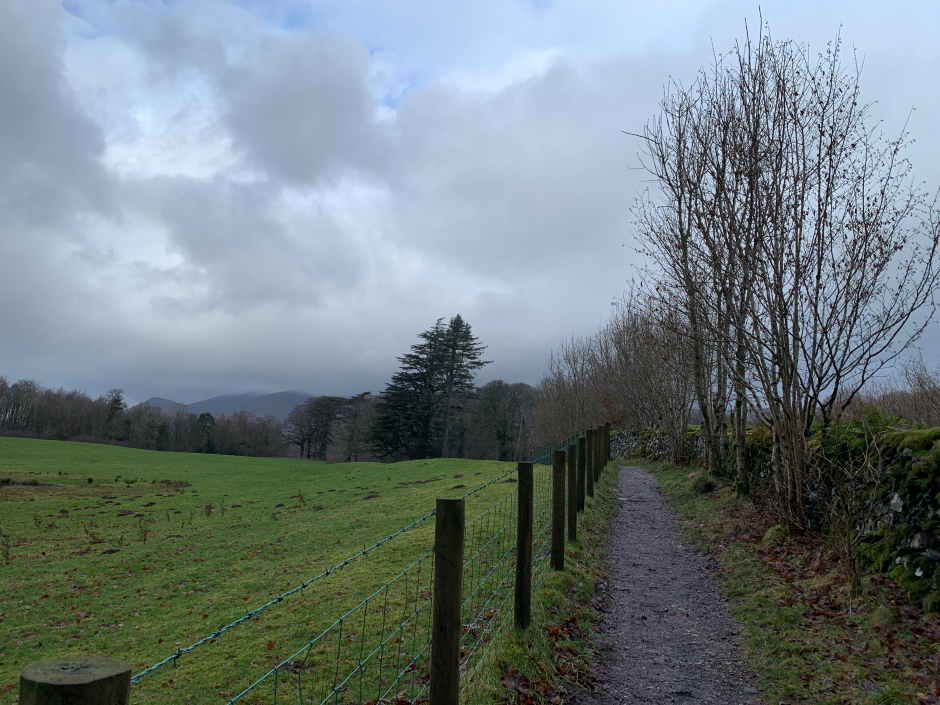
On reaching the main road, I initially walked along the road, which has sections of narrow pavement before instead using a nice path which runs alongside the road.
Derwent Water shore:

View across Derwent Water:

As I progressed along the road and path, I met a lass who was a bit lost. She was relying on a photocopy of a drawn map from some book and had to enquire which was the way to Keswick and which was the way to Derwent Water.
Path alongside the road leading to Keswick:
On reaching Keswick, I passed a Cornish Pasty shop and had to stop to try one
Keswick:
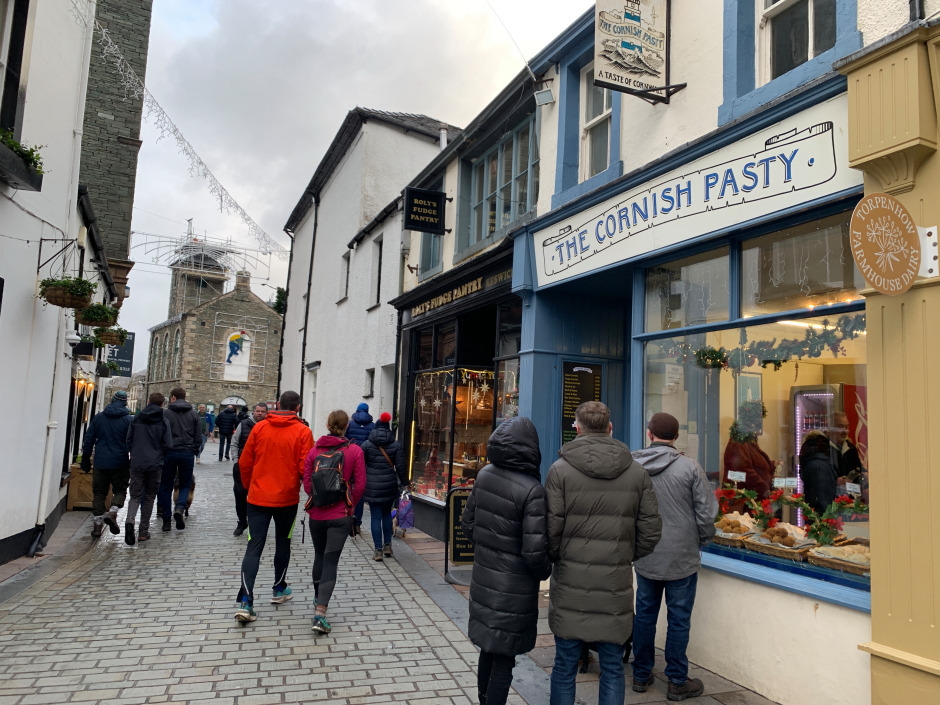
Keswick:
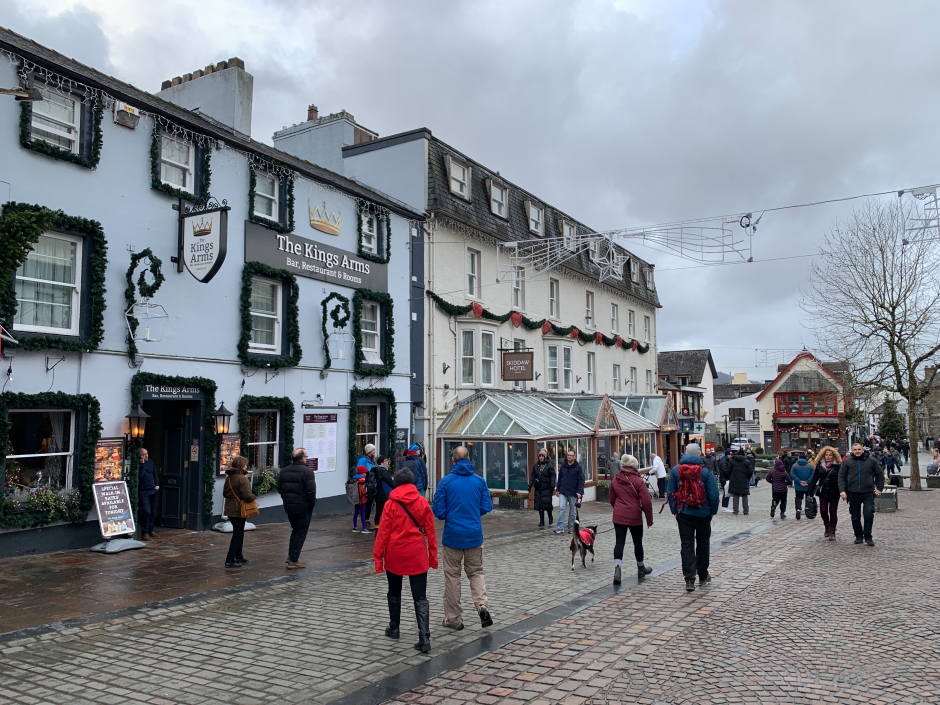
After also having a small beer, I continued walking back to the car. The final section of walk was mostly uphill, so any ascent I had saved by parking on the Rakefoot road was now negated.
Despite the awful weather, I really enjoyed this walk
The wind speed forecast for tomorrow is 65mph+ and snow is forecast. Marvellous